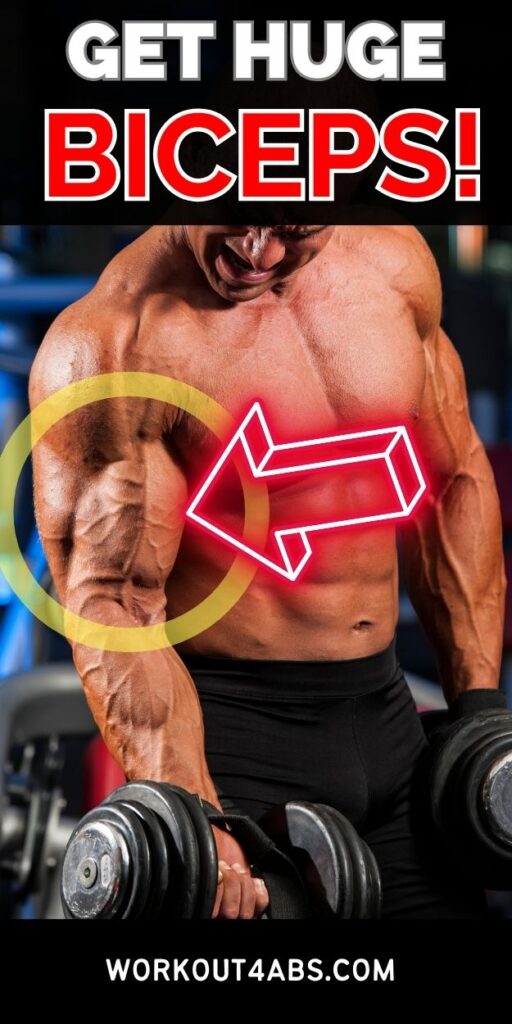
Your about to discover the best bicep exercises for building well-defined biceps and forearms. We’ll explore the best exercises to help you achieve those coveted bulging arms. From classic curls to unconventional techniques, we’ll cover the most effective methods to boost muscle size and strength in your biceps and forearms.
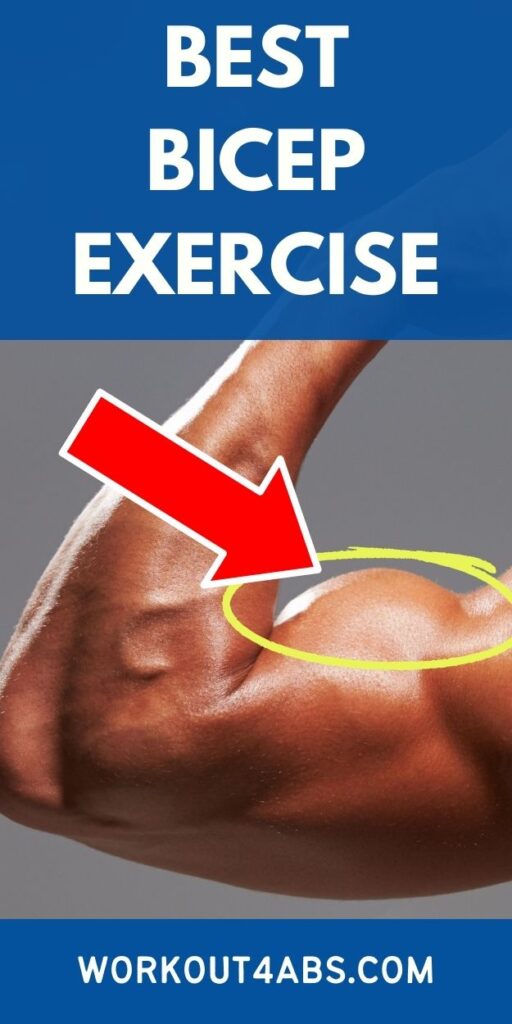
Best Bicep Exercise for Size
If you enjoyed these tips, please save this pin to your Pinterest Board.
Incline Dumbbell Curls
Incline dumbbell curls are a bicep exercise that targets the upper portion of the bicep muscle. Performing this exercise on an incline bench provides a different angle of resistance compared to traditional curls, helping to work the biceps from a different perspective. Here’s how to do incline dumbbell curls:
Equipment Needed:
- Incline bench (adjustable for different angles)
- Dumbbells of an appropriate weight
Steps:
- Set Up:
- Adjust the incline bench to your desired angle. A 45-degree angle is a common starting point, but you can adjust it according to your preference.
- Sit down on the bench with your back against the incline and your feet flat on the floor. Your chest should be up, and your shoulders should be relaxed.
- Select the Right Dumbbells:
- Choose a pair of dumbbells that you can comfortably lift for the desired number of repetitions. It’s better to start with lighter weights and gradually increase as needed.
- Hold the Dumbbells:
- Hold a dumbbell in each hand, allowing your arms to hang down by your sides with your palms facing forward (supinated grip).
- Curling Motion:
- Begin the curling motion by simultaneously lifting both dumbbells towards your shoulders in a smooth, controlled manner.
- Keep your upper arms and elbows stationary throughout the movement. Only your forearms should be moving.
- Squeeze at the Top:
- As you curl the dumbbells up, squeeze your biceps at the top of the movement to maximize muscle engagement.
- Lower the Dumbbells:
- Slowly lower the dumbbells back to the starting position, maintaining control and tension on your biceps as you do so.
- Repetition and Sets:
- Perform the desired number of repetitions (usually 8-12 reps per set) before resting.
- Aim for 2-4 sets, depending on your fitness level and goals.
- Breathing:
- Inhale as you lower the dumbbells.
- Exhale as you curl the dumbbells upward.
- Form Tips:
- Maintain proper posture throughout the exercise. Your back should stay against the bench, and avoid using momentum to swing the weights.
- Focus on a controlled and deliberate motion to ensure that the biceps are doing the work.
- Cool Down:
- After completing your sets, gently stretch your biceps to help with recovery and flexibility.
Incline dumbbell curls are an effective way to target the upper part of your biceps and can be incorporated into your arm training routine to add variety and stimulate muscle growth. Always use proper form and start with a weight that allows you to perform the exercise with good technique.
If you enjoyed these tips, please save this pin to your Pinterest Board.

Chin Ups
Chin-ups are a classic upper-body strength exercise that primarily targets the muscles in your back and biceps. They are performed using an overhead horizontal bar. Here’s a step-by-step guide on how to do chin-ups:
Equipment Needed:
- Pull-up bar or a sturdy horizontal bar that can support your body weight.
Steps:
- Grip the Bar:
- Stand in front of the pull-up bar, and reach up to grip it with your palms facing you (supinated grip). Your hands should be shoulder-width apart or slightly narrower.
- Ensure your grip is firm but not excessively tight.
- Hang From the Bar:
- Jump up or use a stool or bench to reach the bar if necessary.
- Hang from the bar with your arms fully extended. Your body should be straight, and your feet should not touch the ground.
- Engage Your Core:
- Tighten your core muscles to stabilize your body throughout the exercise. This will help you maintain proper form and avoid swinging.
- Initiate the Pull:
- Begin the movement by pulling your shoulder blades down and back. Imagine trying to pinch your shoulder blades together.
- As you do this, start pulling your chest toward the bar.
- Pull-Up:
- Continue pulling your body upward by bending your elbows.
- Focus on bringing your chest to the bar, not your chin. Your chin should clear the bar as you pull up.
- Full Contraction:
- At the top of the movement, when your chest touches or comes close to the bar, pause briefly. Squeeze your back and bicep muscles to maximize the contraction.
- Lowering Phase:
- Slowly lower your body back down by extending your elbows.
- Maintain control during the descent. Avoid just dropping down.
- Repeat:
- Perform the desired number of repetitions. Beginners may start with 3-5 reps, while more advanced individuals can aim for 8-12 or more reps per set.
- Breathing:
- Inhale as you lower your body.
- Exhale as you pull your body up toward the bar.
- Form Tips:
- Avoid using excessive momentum or swinging to complete the exercise. Maintain strict form.
- Keep your elbows pointed downward throughout the movement, not flaring out to the sides.
- Keep your legs straight and together, or you can cross your ankles if it helps with stability.
- Cool Down:
- After completing your chin-ups, you may want to stretch your back, shoulders, and arms to promote flexibility and recovery.
Chin-ups are an excellent compound exercise for building upper-body strength and muscle mass, particularly in the back and biceps. They can be challenging, especially for beginners, but with consistent practice, you can gradually increase your strength and perform more repetitions. If you’re just starting, you can use assistance bands or have a spotter assist you to make the exercise more manageable.
Reverse Fat Grip Curl
The reverse fat grip curl is an exercise that targets the brachialis muscle in the upper arm, along with the brachioradialis and the forearm muscles. It’s performed using a thick or “fat” grip attachment, which challenges your grip strength and works the muscles in a slightly different way compared to traditional curls. Here’s how to do a reverse fat grip curl:
Equipment Needed:
- A thick or fat grip attachment that can be placed on a straight barbell or an EZ-curl bar. You can also use specialized thick grip dumbbells or grip trainers if available.
Steps:
- Set Up:
- Load the barbell or EZ-curl bar with an appropriate amount of weight. Start with a manageable weight, as the thick grip attachment will make the exercise more challenging.
- Attach the thick grip attachment to the bar.
- Grip the Bar:
- Stand in front of the barbell with your feet hip-width apart.
- Bend at your hips and knees to lower your torso slightly, maintaining a straight back.
- Reach down and grasp the bar with your palms facing downward (pronated grip), and your hands should be slightly wider than shoulder-width apart to accommodate the thick grip attachment.
- Starting Position:
- Begin with your arms fully extended, and the barbell held in front of your thighs. Your elbows should be fully extended.
- Curl the Bar:
- Initiate the curl by flexing your elbows and bringing the barbell toward your shoulders.
- Keep your upper arms stationary throughout the movement; only your forearms should be moving.
- As you curl, focus on squeezing your brachialis muscle and brachioradialis.
- Continue curling until the barbell is close to your shoulders, and your biceps and forearms are fully contracted.
- Peak Contraction:
- At the top of the movement, when your biceps and forearms are fully contracted, hold the position for a brief moment to maximize the muscle engagement.
- Lower the Bar:
- Slowly lower the barbell back to the starting position, extending your elbows. Maintain control throughout the descent.
- Repetition and Sets:
- Perform the desired number of repetitions. Start with a weight and rep range that allows you to maintain proper form, such as 3 sets of 8-12 reps.
- Breathing:
- Inhale as you lower the barbell.
- Exhale as you curl the barbell upward.
- Form Tips:
- Avoid using momentum or swinging to complete the exercise. Keep your upper arms and body stable.
- Maintain a slight bend in your knees and engage your core for stability.
- Focus on your grip strength as the thick grip attachment will challenge it.
- Cool Down:
- After completing your sets, gently stretch your forearms and biceps to promote flexibility and recovery.
The reverse fat grip curl is an effective exercise for developing the brachialis, brachioradialis, and forearm muscles. It can help improve grip strength and overall arm development when incorporated into your strength training routine.
Zottman Curl
The Zottman curl is a unique bicep exercise that targets both the biceps and the forearms. It involves a combination of standard curls and a reverse curl, which engages the brachialis, brachioradialis, and wrist flexor muscles. Here’s how to perform a Zottman curl:
Equipment Needed:
- Dumbbells of an appropriate weight.
Steps:
- Set Up:
- Stand up straight with your feet shoulder-width apart.
- Hold a dumbbell in each hand with a neutral grip (palms facing your torso) and your arms fully extended by your sides.
- Standard Curl (Concentric Phase):
- Begin the exercise by performing a standard curl for your right arm:
- Bend your right elbow and curl the dumbbell upwards towards your right shoulder.
- Keep your upper arm stationary; only your forearm should be moving.
- Squeeze your bicep at the top of the movement, then pause briefly.
- Begin the exercise by performing a standard curl for your right arm:
- Transition:
- Once you’ve completed the standard curl with your right arm, it’s time to transition to the reverse curl. This is where the Zottman curl gets interesting.
- At the top of the standard curl, rotate your wrist so that your palm is now facing away from your torso (pronated grip).
- Reverse Curl (Eccentric Phase):
- Lower the dumbbell with your right hand using the reverse curl technique:
- Slowly straighten your arm, extending it downward.
- Keep your upper arm stationary, and focus on contracting your brachioradialis and wrist flexor muscles.
- Lower the dumbbell until your arm is fully extended.
- Lower the dumbbell with your right hand using the reverse curl technique:
- Repeat on the Left Side:
- After completing the right arm’s Zottman curl, switch to the left arm:
- Begin with a standard curl for your left arm, curling the dumbbell towards your left shoulder.
- At the top of the standard curl, rotate your wrist to a pronated grip.
- Lower the dumbbell with your left hand using the reverse curl technique.
- After completing the right arm’s Zottman curl, switch to the left arm:
- Repetitions and Sets:
- Continue alternating between the standard curl and reverse curl for each arm for the desired number of repetitions.
- Aim for 3-4 sets of 8-12 repetitions per arm.
- Breathing:
- Inhale as you perform the standard curl.
- Exhale as you perform the reverse curl.
- Form Tips:
- Maintain proper posture throughout the exercise. Keep your back straight and core engaged.
- Use a controlled motion during both the standard and reverse curls, avoiding swinging or using momentum.
- Focus on the rotation of your wrist during the transition to ensure a smooth switch between the two phases.
- Cool Down:
- After completing your Zottman curls, stretch your biceps and forearms to promote flexibility and recovery.
The Zottman curl is an effective exercise for targeting multiple muscles in the arms, including the biceps, brachialis, brachioradialis, and forearm flexors. It’s a great addition to your arm training routine for building both size and strength in these muscle groups.
If you enjoyed these tips, please save this pin to your Pinterest Board.
Home › Aesthetic Body Plan ›Best Bicep Exercises