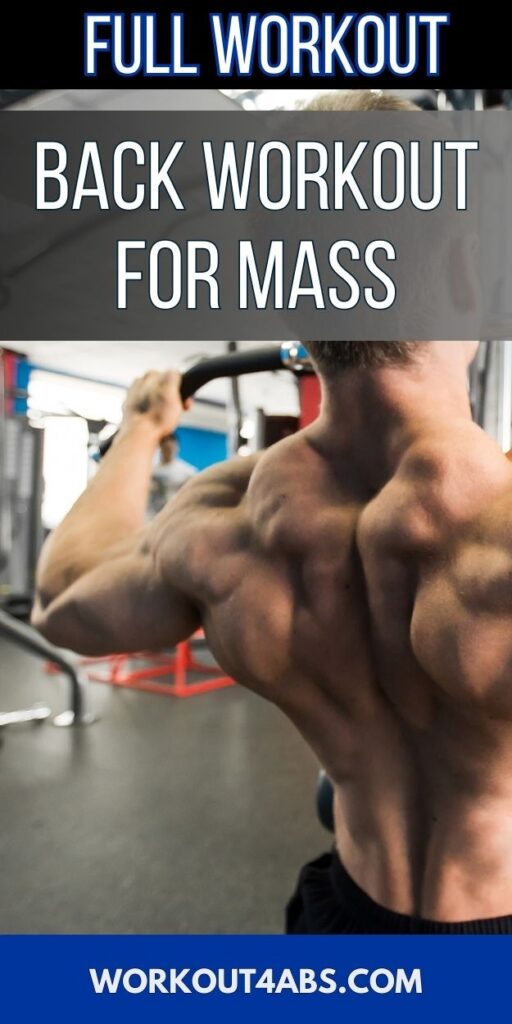
Here’s a bigger back workout for explosive muscle growth. In this article, we unveil a targeted exercise routine designed to sculpt a powerful and well-defined back. Whether you’re a seasoned lifter or a beginner, this comprehensive guide will help you achieve impressive muscle mass gains.
Back Workout for Mass (Full Workout)
If you enjoyed these tips, please save this pin to your Pinterest Board.
Mag Grip Pull Down
A lat pulldown warm-up exercise is a great way to prepare your back muscles for a workout focused on increasing back muscle mass. It helps increase blood flow to the targeted muscles and improves range of motion. Here’s how to perform a lat pulldown warm-up:
Equipment Needed:
- Lat pulldown machine
- Adjustable bench (optional)
Steps:
- Set Up the Machine:
- Adjust the seat height and knee pad so that your thighs are snug under the knee pads and your feet are flat on the floor.
- Attach a wide-grip bar or handle to the pulldown cable.
- Sit on the bench with your back straight and your chest up, facing the lat pulldown machine.
- Grip the Bar:
- Reach up and grab the bar with a wide, overhand grip (palms facing away from you) slightly wider than shoulder-width apart.
- Ensure your grip is even on both sides of the bar.
- Position Yourself:
- Sit down on the bench, but don’t lean back too much; keep your back straight.
- Your thighs should be snug under the knee pads, and your feet flat on the floor.
- Your arms should be fully extended upward, holding the bar.
- Warm-Up Set (Light Weight):
- Start with a very light weight on the machine. This weight should be easy to handle.
- The purpose of this set is to warm up your muscles and practice proper form.
- Perform 15-20 repetitions in a controlled manner.
- Focus on the stretch and squeeze of your lat muscles with each repetition.
- Proper Form:
- As you pull the bar down, engage your lats by thinking about pulling your elbows down and back.
- Squeeze your shoulder blades together at the bottom of the movement.
- Keep your chest up, and avoid using your biceps to pull the weight.
- Exhale as you pull the bar down, and inhale as you release it.
- Gradually Increase Weight:
- After your warm-up set, gradually increase the weight to a level that challenges you but allows you to perform 8-12 repetitions with good form.
- Do 2-3 sets at this weight, resting for about 60-90 seconds between sets.
- Cool Down:
- After completing your lat pulldown warm-up sets, perform some light stretching for your back muscles. You can do simple stretches like the seated lat stretch or the cat-cow stretch to release any tension.
Remember, the warm-up sets are crucial to prevent injury and prepare your muscles for the heavier lifting during your main workout. Focus on maintaining good form throughout the exercise, and gradually increase the weight as you progress in your workout program.
If you enjoyed these tips, please save this pin to your Pinterest Board.
Chest supported T-Bar rows
Chest-supported T-Bar Rows are a great compound exercise that primarily targets the muscles of the upper back, including the lats, rhomboids, and rear deltoids, while also engaging the lower back, traps, and biceps. Here’s how to perform Chest-supported T-Bar Rows:
Equipment Needed:
- T-Bar row machine or landmine attachment
- Chest-supported row bench
- Weight plates
Steps:
- Setup:
- Place the T-Bar row machine or landmine attachment inside a landmine sleeve (if available) or securely anchor it to the floor with weight plates.
- Attach a V-handle, T-Bar handle, or any suitable rowing handle to the landmine attachment.
- Adjust the weight plates on the T-Bar machine or landmine attachment to the desired resistance.
- Positioning:
- Place the chest-supported row bench in front of the T-Bar machine or landmine attachment.
- Stand facing the machine and straddle the bar or attachment with your feet hip-width apart. Your toes should be pointing forward.
- Bend at the Hips:
- Bend at your hips to create a 45-degree angle with your upper body while keeping your back straight. Your chest should be resting comfortably on the chest support pad of the bench.
- Grip the Handle:
- Reach down and grab the handle with both hands, using an overhand grip (palms facing you) on the handle. Your grip should be slightly wider than shoulder-width apart.
- Starting Position:
- In the starting position, your arms should be fully extended, and your back should be parallel to the ground. Keep your head in a neutral position, looking down.
- Execution:
- Exhale as you pull the handle towards your lower chest, driving your elbows back and squeezing your shoulder blades together.
- Keep your elbows close to your body throughout the movement.
- Hold the contraction for a moment to maximize the engagement of your back muscles.
- Lowering the Weight:
- Inhale as you slowly lower the handle back to the starting position, maintaining control throughout the descent.
- Repetitions:
- Perform the desired number of repetitions. A typical set may consist of 8-12 reps, but this can vary based on your training goals.
- Cooldown and Rest:
- After completing your set, carefully return the handle to the starting position.
- Take a moment to stretch your back and shoulders if needed.
- Rest for 60-90 seconds between sets.
Tips:
- Keep your core engaged throughout the exercise to stabilize your spine.
- Avoid using momentum or swinging to lift the weight; focus on controlled movements.
- Start with a lighter weight to ensure proper form, then progressively increase the resistance as you get stronger.
- Maintain a slow and controlled tempo to maximize muscle engagement and reduce the risk of injury.
As with any exercise, it’s essential to prioritize proper form and start with a weight that allows you to perform the exercise correctly before gradually increasing the resistance. Consulting a fitness professional or trainer can also be beneficial to ensure you’re performing the exercise safely and effectively.
Chest supported 2 hand DB rows
Chest-supported two-hand dumbbell (DB) rows are an effective exercise for targeting the muscles of your upper back, particularly the lats, rhomboids, and rear deltoids. Using a chest support bench helps stabilize your body and isolate the back muscles. Here’s how to perform chest-supported two-hand dumbbell rows:
Equipment Needed:
- Chest-supported row bench
- Pair of dumbbells
- Exercise mat (optional)
Steps:
- Setup:
- Place the chest-supported row bench in front of a mirror or a spotter (if available) for better form feedback.
- Adjust the bench’s height so that when you lie face down on it, your chest is firmly supported, and your feet can touch the ground comfortably.
- Place a pair of dumbbells on the floor at the head of the bench.
- Positioning:
- Stand facing the bench and straddle it with your feet shoulder-width apart. Your toes should be pointing forward.
- Bend at the hips and carefully lie face down on the bench. Your chest should rest comfortably against the padded support, and your head should be in a neutral position, aligned with your spine.
- Grip the Dumbbells:
- Reach down and pick up a dumbbell in each hand.
- Start with a neutral grip (palms facing each other) by holding the dumbbells in front of the bench.
- Starting Position:
- In the starting position, your arms should be fully extended downward, and your back should be parallel to the ground.
- Execution:
- Exhale as you pull the dumbbells toward your hips, driving your elbows back and squeezing your shoulder blades together.
- Keep your elbows close to your body throughout the movement.
- Focus on contracting your back muscles as you lift the dumbbells.
- Hold the contraction for a moment at the top of the movement.
- Lower the Dumbbells:
- Inhale as you slowly lower the dumbbells back to the starting position, maintaining control throughout the descent.
- Repetitions:
- Perform the desired number of repetitions. Typically, you might aim for 8-12 reps per set, but this can vary based on your training goals.
- Cooldown and Rest:
- After completing your set, carefully place the dumbbells on the floor.
- Take a moment to stretch your back and shoulders if needed.
- Rest for 60-90 seconds between sets.
Tips:
- Maintain a neutral spine throughout the exercise. Avoid arching your back or lifting your head.
- Use a controlled tempo; don’t use momentum to lift the dumbbells.
- Start with a weight that allows you to maintain proper form and gradually increase the resistance as you become stronger.
- Keep your core engaged to stabilize your body on the bench.
As with any exercise, prioritize proper form to maximize the effectiveness of the movement and reduce the risk of injury. If you’re new to this exercise, consider seeking guidance from a fitness professional or trainer to ensure you’re performing it correctly.
Superset A) Pullover Machine with B) Chest supported row machine
Performing a superset of the Pullover Machine and the Chest Supported Row Machine can be an excellent way to target multiple muscle groups in your upper body, including the chest, back, and shoulders, while saving time during your workout. Here’s how to execute this superset:
Equipment Needed:
- Pullover Machine
- Chest Supported Row Machine
- Chest-supported row bench
- Exercise mat (optional)
Instructions:
1. Set Up:
- Start by adjusting both the Pullover Machine and the Chest Supported Row Machine to your desired settings:
Pullover Machine:
- Adjust the seat height so that you can comfortably sit down and grasp the handles.
- Select an appropriate weight for your fitness level and your goal (usually moderate to heavy).
Chest Supported Row Machine:
- Adjust the bench’s height on the Chest Supported Row Machine so that when you lie face down on it, your chest is properly supported and you can reach the handles comfortably.
- Choose an appropriate weight for your Chest Supported Row exercise (typically moderate to heavy).
2. Superset Sequence:
This superset involves alternating between the Pullover Machine and the Chest Supported Row Machine. Perform the exercises in the following sequence:
a. Pullover Machine:
- Sit down on the Pullover Machine, gripping the handles with both hands.
- Place your feet flat on the ground and maintain a slight bend in your elbows.
- Exhale as you pull the handles down and forward, extending your arms and lowering the weight toward your chest.
- Inhale as you return the handles to the starting position, keeping control of the weight.
- Perform 8-12 repetitions on the Pullover Machine.
b. Chest Supported Row Machine:
- Move to the Chest Supported Row Machine.
- Lie face down on the bench, ensuring your chest is supported, and grip the handles with both hands.
- Your body should be in a straight line from head to heels.
- Exhale as you pull the handles towards your hips, driving your elbows back and squeezing your shoulder blades together.
- Inhale as you return the handles to the starting position.
- Perform 8-12 repetitions on the Chest Supported Row Machine.
3. Rest:
After completing both exercises (one set of Pullover followed by one set of Chest Supported Row), take a brief rest period of 60-90 seconds to recover.
4. Repeat:
Repeat the superset for the desired number of sets. Typically, 3-4 sets of this superset combination can be effective.
Tips:
- Choose appropriate weights that challenge you but allow you to maintain proper form throughout the sets.
- Focus on controlled movements and a full range of motion for both exercises.
- Engage your core to stabilize your body on the Chest Supported Row bench.
- Adjust the bench and machine settings as needed to ensure comfort and proper alignment.
- Prioritize safety and proper form throughout the superset.
Supersets like these can be an efficient way to work multiple muscle groups while keeping your workout intense and time-efficient. Always prioritize proper form and safety during your training.
Superset A) Strap Handle Lat Prayer with B) Seated Cable Low Row with Close Grip Neutral Handle
A superset of the Strap Handle Lat Pulldown and Seated Cable Low Row with a close-grip neutral handle is an effective way to target your back muscles from different angles and intensify your workout. This combination works on your lats, rhomboids, and biceps. Here’s how to perform this superset:
Equipment Needed:
- Lat Pulldown Machine with a strap handle attachment
- Seated Cable Low Row Machine with a close-grip neutral handle attachment
- Adjustable bench (optional)
- Exercise mat (optional)
Instructions:
1. Set Up:
- Adjust both the Lat Pulldown Machine and Seated Cable Low Row Machine to your desired settings:Lat Pulldown Machine:
- Attach a strap handle to the cable.
- Adjust the weight stack to an appropriate resistance for lat pulldowns (usually moderate to heavy).
- Attach a close-grip neutral handle to the cable.
- Set the weight stack to an appropriate resistance for low rows (typically similar to the lat pulldown weight).
2. Superset Sequence:
This superset involves alternating between the Strap Handle Lat Pulldown and the Seated Cable Low Row. Perform the exercises in the following sequence:
a. Strap Handle Lat Pulldown:
- Sit down on the Lat Pulldown Machine, facing the weight stack.
- Grasp the strap handle with both hands, palms facing each other, and extend your arms fully overhead.
- Exhale as you pull the handle down towards your chest by engaging your lats and squeezing your shoulder blades together.
- Inhale as you slowly return the handle to the fully extended position.
- Perform 8-12 repetitions on the Lat Pulldown Machine.
b. Seated Cable Low Row:
- Move to the Seated Cable Low Row Machine.
- Sit down, ensuring your feet are flat on the footrest, knees slightly bent, and back straight.
- Grasp the close-grip neutral handle with both hands.
- Exhale as you pull the handle towards your lower chest, driving your elbows back and squeezing your shoulder blades together.
- Inhale as you slowly release the handle, extending your arms fully.
- Perform 8-12 repetitions on the Seated Cable Low Row Machine.
3. Rest:
After completing both exercises (one set of Strap Handle Lat Pulldown followed by one set of Seated Cable Low Row), take a brief rest period of 60-90 seconds to recover.
4. Repeat:
Repeat the superset for the desired number of sets. Aim for 3-4 sets of this superset combination.
Tips:
- Choose appropriate weights for both exercises to challenge yourself while maintaining proper form.
- Focus on controlled movements and a full range of motion for each repetition.
- Engage your core to stabilize your body during the Seated Cable Low Row.
- Adjust the seat and machine settings as needed for comfort and alignment.
- Maintain proper posture and avoid using momentum to lift the weights.
Supersets like these can help you efficiently work on different aspects of your back muscles and make your workout more effective. Always prioritize safety, proper form, and gradual progression in your training routine.
If you enjoyed these tips, please save this pin to your Pinterest Board.
Home › Aesthetic Body Plan ›Bigger Back Workout