You’re about to discover the dumbbell leg exercises to building stronger, more resilient legs at any age. In this article, we’ll explore how these exercises not only build muscle but also enhance lower body strength, mobility, and longevity while reducing the risk of injury.
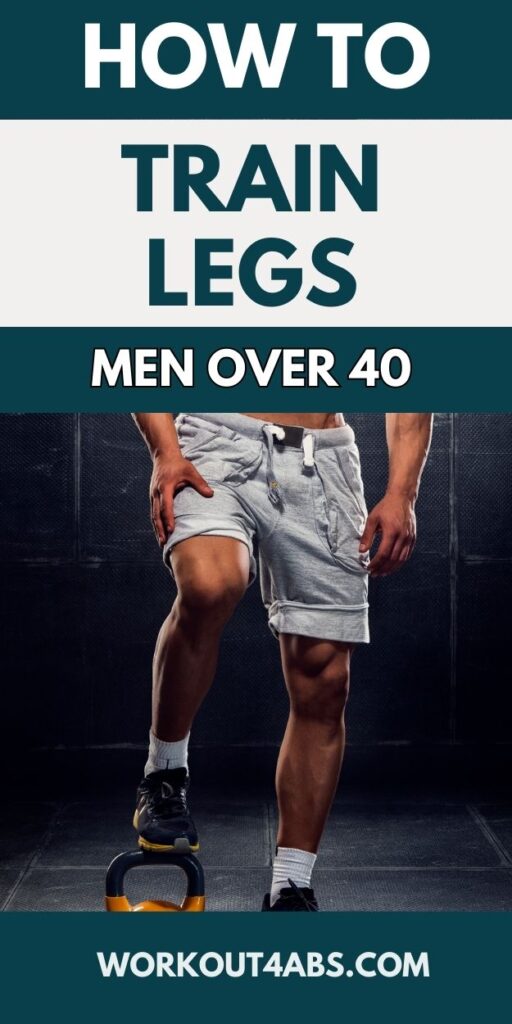
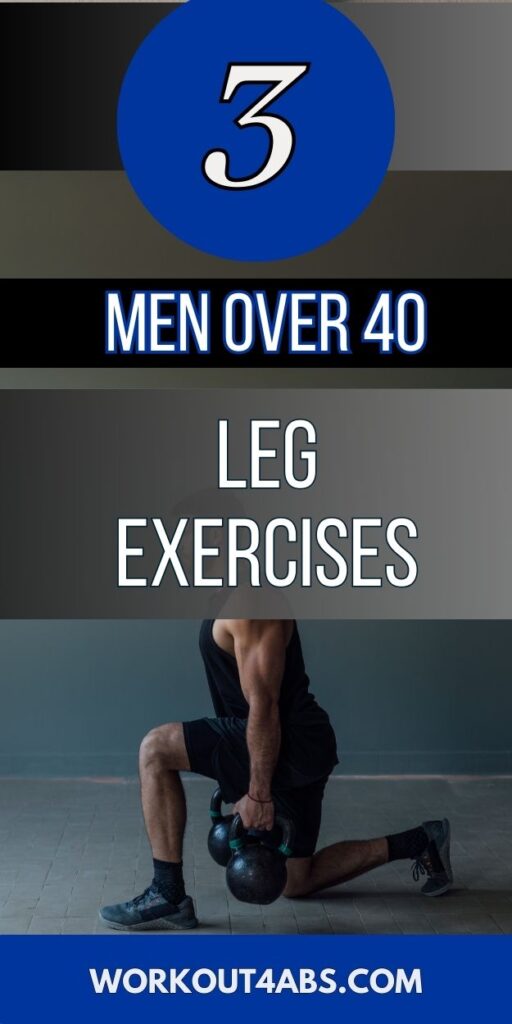
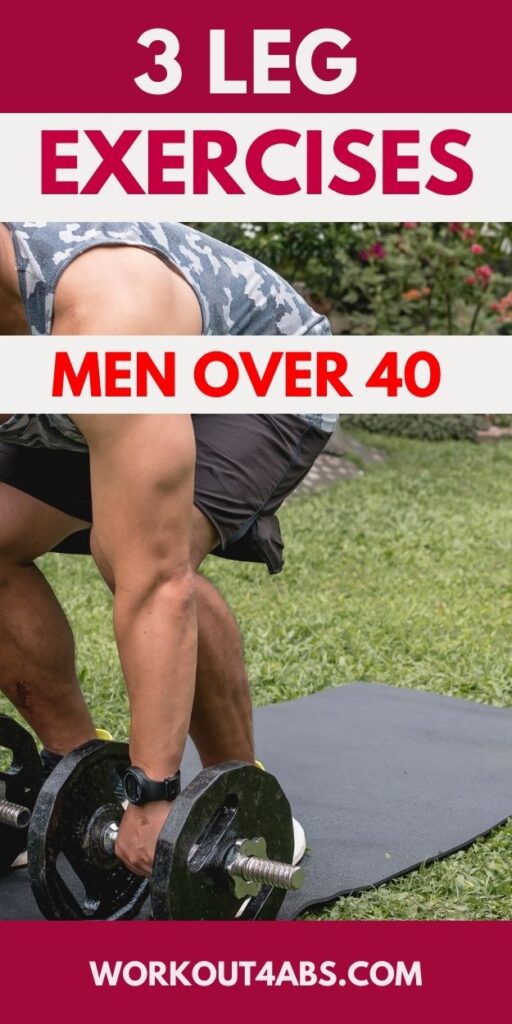
The ONLY 3 Dumbbell Leg Exercises You Need (men over 40)
If you enjoyed these tips, please save this pin to your Pinterest Board.
Less Joint Stress on the Knees – Bulgarian Split Squat
The Bulgarian split squat offers a distinct advantage by not loading the spine directly, which can reduce the stress on the spine and lower back compared to exercises like squats or deadlifts. This is primarily because:
- No Vertical Load on the Spine: In a Bulgarian split squat, your back leg is elevated, and the exercise is performed unilaterally, which means you’re not bearing the weight of a barbell or heavy load on your shoulders or upper back. This eliminates the compressive forces that can place stress on the spine during exercises like traditional back squats.
By reducing the load on the spine, the Bulgarian split squat decreases the risk of injury and discomfort in the lower back, making it a suitable option for individuals with back issues or those looking to avoid excessive spinal loading.
Furthermore, this exercise places less stress on your knees and other joints while maintaining high exercise intensity for several reasons:
- Reduced Shear Force: The Bulgarian split squat has a smaller forward and backward motion compared to lunges, minimizing shear forces on the knee joint. This reduction in shear forces can help protect the knees from excessive strain.
- Controlled Range of Motion: When performed correctly, this exercise encourages a controlled and stable range of motion, reducing the risk of sudden jerky movements that could stress the joints.
- Balanced Load Distribution: Because the exercise is unilateral, it allows for a balanced load distribution between the legs, promoting symmetry and potentially reducing joint stress.
Despite the reduced spinal and joint stress, the Bulgarian split squat can still provide a high-intensity lower-body workout, effectively targeting the quadriceps, hamstrings, glutes, and stabilizer muscles. It’s a valuable addition to leg training routines, offering both strength-building benefits and joint-friendly characteristics. However, as with any exercise, proper form and technique are crucial to maximize its advantages and minimize the risk of injury.
Hits the Glutes More than the Quads
The Bulgarian split squat is known for its ability to effectively target the glutes, making it an advantageous exercise for individuals looking to emphasize glute activation over quad engagement. Here’s how it achieves this:
- Hip Extension Emphasis:
- During the Bulgarian split squat, the movement emphasizes hip extension, which heavily engages the glutes. As you descend and then push back up, the glutes play a significant role in extending the hip and bringing your body back to the upright position.
- Step Length and Hip Position:
- The length of the step in the Bulgarian split squat can be adjusted to vary the emphasis on different muscle groups. A longer step places more emphasis on the glutes and hamstrings, while a shorter step may engage the quads to a greater extent.
- When you take a longer step forward, it creates a greater hip flexion angle, putting the glutes in a stretched position. As you push back up, the glutes work hard to extend the hip, resulting in a more pronounced glute contraction.
- Torso Position and Leaning Forward:
- Leaning slightly forward during the Bulgarian split squat can further shift the emphasis onto the glutes. This forward lean increases the hip flexion angle and engages the glutes more intensely as they work to bring the torso back to an upright position.
- Pushing Through the Heel:
- Emphasizing pushing through the heel of the front foot while keeping the chest upright activates the glutes, engaging them more than if you were pushing through the toes.
- Activation of Stabilizer Muscles:
- Balancing and stabilizing during the Bulgarian split squat require additional activation of the gluteus medius and gluteus minimus, enhancing overall glute engagement.
By adjusting your step length, torso position, and foot pressure, you can tailor the Bulgarian split squat to maximize glute activation. It’s an excellent exercise for individuals seeking to target and strengthen their glutes, hamstrings, and hips while minimizing the quad engagement compared to traditional squats.
Hip Joint Health, Stability, Injury Prevention
- Hip Joint Health:
- Improved Hip Mobility: Performing Bulgarian split squats involves a significant range of motion at the hip joint. This can help improve hip mobility and flexibility, which is essential for overall joint health and function.
- Joint Lubrication: The dynamic movement of the exercise encourages synovial fluid production, which lubricates the hip joint. This can contribute to reduced friction and wear on the joint, promoting long-term hip health.
- Overall Stability:
- Core Engagement: To maintain balance during the Bulgarian split squat, your core muscles are heavily engaged. This engagement enhances overall stability not only at the hips but also throughout the entire body.
- Strengthening Stabilizer Muscles: The exercise requires the activation of stabilizer muscles in the hips, knees, and ankles. Strengthening these muscles helps improve joint stability, reducing the risk of falls or injuries.
- Injury Prevention:
- Balanced Muscle Development: The Bulgarian split squat helps promote balanced muscle development in the lower body. By working the quadriceps, hamstrings, glutes, and stabilizer muscles, it reduces muscle imbalances that can lead to injuries.
- Knee and Ankle Health: Proper execution of the exercise encourages a controlled and stable range of motion at the knee and ankle joints, reducing the risk of strains or sprains in these areas.
- Reduced Lower Back Strain: Unlike traditional squats, which can place a significant load on the lower back, the Bulgarian split squat minimizes lower back strain. This can be especially beneficial for individuals with lower back issues.
Overall, the Bulgarian split squat is a versatile exercise that not only helps improve hip joint health and stability but also contributes to injury prevention by addressing muscle imbalances and promoting controlled movement patterns. It is a valuable addition to any workout routine, particularly for those looking to enhance lower body strength while safeguarding joint health and minimizing injury risks.
How to do Bulgarian Split Squats
The Bulgarian split squat is a single-leg exercise that targets your quadriceps, hamstrings, glutes, and stabilizer muscles. It’s performed using a bench or an elevated surface to create a challenging leg workout. Here’s a step-by-step guide on how to do a Bulgarian split squat:
Equipment Needed:
- A bench, step, or any sturdy elevated surface.
- Optional: Dumbbells or a barbell for added resistance.
Step-by-Step Instructions:
- Setup:
- Stand about two to three feet in front of the bench or elevated surface, with your back to it.
- Positioning:
- Lift one foot behind you and place the top of your foot on the bench. Your toes should be pointing down.
- The other foot is your working leg, and it should be a step or two in front of you.
- Posture:
- Maintain an upright torso with your chest up and shoulders back.
- Engage your core for stability.
- Execution:
- Begin the descent by bending your front knee. Lower your body toward the ground, keeping your chest up and back straight.
- Continue to lower your body until your front thigh is parallel to the ground or slightly below. Your back knee should hover just above the floor.
- Push Back Up:
- Push through your front heel to return to the starting position, straightening your front leg.
- Repetition:
- Complete the desired number of repetitions on one leg before switching to the other leg.
Tips:
- Ensure that your front knee does not extend beyond your toes when you descend to protect your knee joint.
- Keep your upper body as upright as possible to target the muscles effectively and maintain proper balance.
- Engage your glutes and core for stability.
- Use a controlled and smooth motion throughout the exercise.
- You can hold dumbbells or a barbell in your hands for added resistance once you’re comfortable with the movement.
The Bulgarian split squat is a highly effective lower-body exercise, but it may require some balance and coordination. Start with bodyweight and gradually add resistance as you become more proficient in the exercise. Proper form is essential to maximize the benefits and minimize the risk of injury.
If you enjoyed these tips, please save this pin to your Pinterest Board.
Advantages of Dumbbell Romanian Deadlifts
Using dumbbells for Romanian deadlifts (RDLs) provides advantages related to grip, wrist and elbow stress, and a more favorable line of pull, ultimately reducing strain on the lower back:
- Natural and Neutral Grip:
- Dumbbells allow for a more natural and neutral grip during Romanian deadlifts. Unlike a barbell, where the grip is fixed and often places stress on the wrists and elbows, dumbbells allow you to position your hands in a way that feels comfortable and minimizes strain on these joints.
- Reduced Stress on Wrists and Elbows:
- The wrist and elbow alignment during dumbbell RDLs can be adjusted to suit your body’s mechanics and comfort. This adaptability reduces the stress on these joints compared to a fixed, pronated grip often required by a barbell.
- Closer Line of Pull:
- When using dumbbells, the line of pull is naturally closer to your body compared to a barbell. This more central line of pull decreases the lever arm and effectively reduces the stress and torque on your lower back during the RDL movement.
- Improved Lower Back Stress:
- The closer line of pull and the ability to maintain a more upright posture while holding dumbbells can lead to less stress on your lower back. This is particularly beneficial during the hip hinge movement in RDLs, as it minimizes the forward lean and associated stress on the lumbar spine.
By allowing a more natural grip, reducing stress on the wrists and elbows, and aligning the line of pull closer to the body, dumbbells enable a more ergonomic and lower-back-friendly execution of the Romanian deadlift. This makes it a valuable option for individuals aiming to perform the RDL with improved form and reduced risk of lower back strain.
How to do Dumbbell Romanian Deadlifts
Dumbbell Romanian Deadlifts (RDLs) are an effective exercise for targeting the hamstrings, glutes, lower back, and overall posterior chain. Here’s how to perform them correctly:
Equipment Needed:
- A pair of dumbbells
Step-by-Step Instructions:
- Set Up:
- Begin by holding a dumbbell in each hand, standing with your feet hip-width apart. Ensure your core is engaged for stability.
- Positioning:
- Hold the dumbbells in front of your thighs with your palms facing your body. This is your starting position.
- Hip Hinge:
- Initiate the movement by pushing your hips back, maintaining a slight bend in your knees. Keep your chest up and your back straight throughout the entire exercise.
- Lowering Phase:
- Lower the dumbbells along the front of your legs as you hinge at your hips. Continue to lower the dumbbells until you feel a stretch in your hamstrings or until your back is nearly parallel to the ground.
- Keep the dumbbells as close to your legs as possible without actually touching them.
- Stretch and Hold:
- At the bottom of the movement, you should feel a significant stretch in your hamstrings. Hold this position for a moment to maximize the stretch and engagement of the muscles.
- Lift Back Up:
- To return to the starting position, drive your hips forward and stand up by extending your hips and pushing through your heels.
- Keep the dumbbells close to your body as you rise.
- Repeat:
- Perform the desired number of repetitions. Start with a weight that allows you to maintain proper form and gradually increase the weight as you become more comfortable with the exercise.
Tips:
- Maintain a neutral spine throughout the exercise. Do not round your back.
- Keep your knees slightly bent but avoid excessive bending or flexing during the movement.
- Focus on hip hinging, which means pushing your hips back, not simply bending at the waist.
- Control the descent and ascent to maximize muscle engagement and minimize the risk of injury.
- Exhale as you lift the dumbbells back up and inhale as you lower them down.
- Start with a lighter weight to practice proper form before progressing to heavier dumbbells.
Dumbbell Romanian Deadlifts are an excellent exercise for strengthening the posterior chain and improving hip and hamstring flexibility. Proper form is crucial to maximize benefits and prevent injury, so pay close attention to your technique.
How to Make RDL’s More Effective
Bracing the abdominals during the Romanian deadlift (RDL) can significantly enhance the effectiveness of the exercise by increasing glute and hamstring activation. This is primarily due to the improved stability it provides at the hip joint. Here’s how it works:
- Abdominal Bracing:
- Abdominal bracing involves contracting and tightening the muscles of the core, including the rectus abdominis, obliques, and transverse abdominis. This action creates a stable and supportive foundation for the spine and pelvis.
- Enhanced Hip Stability:
- When you brace your abdominals during the RDL, you create a strong and stable base for the movement. This stability translates to the hip joint, reducing the risk of excessive movement or wobbling during the exercise.
- Improved Hip Extension:
- As you perform the RDL and extend your hips by pushing them forward, the braced abdominals help maintain a controlled and stable hip extension. This allows you to effectively engage and activate the gluteus maximus (the largest muscle in the glutes) and the hamstrings.
- Directing Force to Target Muscles:
- The stability provided by the braced abdominals directs the force generated during the hip extension primarily to the glutes and hamstrings, which are the intended target muscles of the RDL.
- Without abdominal bracing, there may be a greater risk of the lower back muscles taking on some of the load, potentially leading to less effective glute and hamstring activation and an increased risk of lower back strain.
By bracing the abdominals while performing hip extension in the Romanian deadlift, you create a controlled and stable environment that allows you to maximize glute and hamstring activation. This not only makes the exercise more effective for targeting these muscle groups but also reduces the risk of injury and reinforces proper movement patterns. It’s an essential technique for anyone looking to get the most out of their RDL workout.
Weak or Tight Calf Muscles May Lead to Foot and Ankle Problems
Weak or tight calf muscles can indeed contribute to various foot and ankle problems, including Achilles tendonitis, plantar fasciitis, and shin splints. Here’s how these muscle issues can lead to these conditions:
- Achilles Tendonitis:
- Calf Muscle Tightness: Tight calf muscles can increase tension on the Achilles tendon, which connects the calf muscles to the heel bone (calcaneus). This increased tension can overload the Achilles tendon, leading to inflammation and microtears, a condition known as Achilles tendonitis.
- Limited Ankle Flexion: Tight calf muscles restrict ankle range of motion, particularly dorsiflexion (the ability to lift the foot upward). Limited dorsiflexion can strain the Achilles tendon during activities like walking and running.
- Plantar Fasciitis:
- Calf Muscle Tightness: Tight calf muscles can alter your walking and running gait. When your calf muscles are tight, you are more likely to walk or run with shortened strides. This change in gait can place increased stress on the plantar fascia, a thick band of tissue that runs along the bottom of your foot. Over time, this stress can lead to plantar fasciitis, characterized by heel pain and inflammation.
- Gastrocnemius Involvement: The gastrocnemius muscle, one of the major calf muscles, shares a connective tissue with the Achilles tendon. Tightness or dysfunction in the gastrocnemius can directly affect the plantar fascia and contribute to plantar fasciitis.
- Shin Splints (Medial Tibial Stress Syndrome):
- Calf Muscle Weakness: Weak calf muscles, specifically the anterior (front) compartment of the lower leg, can result in an imbalance between the calf and shin muscles. This imbalance can lead to excessive stress on the shinbone (tibia) during activities like running, causing shin splints.
- Reduced Shock Absorption: Weakened calf muscles may not effectively absorb shock during foot strike, which can increase the load on the shinbone and its surrounding tissues, leading to shin splints.
Addressing calf muscle issues through stretching, strengthening, and flexibility exercises can help alleviate or prevent these foot and ankle problems. Maintaining proper calf muscle health is essential for maintaining a balanced and functional lower extremity, reducing the risk of overuse injuries, and promoting overall foot and ankle wellness.
Perform Calf Raises while Leg Extended
Performing calf raises with the legs extended (often referred to as straight-leg calf raises) is an effective way to emphasize the activation of the gastrocnemius muscle while still providing a stimulus to the soleus muscle. Here’s why this exercise variation achieves this balance:
- Gastrocnemius Emphasis:
- The gastrocnemius is a two-headed muscle that crosses both the knee and ankle joints. It plays a significant role in ankle plantarflexion (pointing the toes downward). When you perform calf raises with the legs extended, the knee joint remains in an extended (straight) position.
- With the knee extended, the gastrocnemius is in a shortened position at the start of the exercise. This means that it has less room to contract further and can achieve a more significant contraction with each repetition, emphasizing its activation.
- Soleus Engagement:
- The soleus muscle lies beneath the gastrocnemius and is primarily responsible for ankle plantarflexion when the knee is in a bent (flexed) position.
- During straight-leg calf raises, even though the gastrocnemius takes the initial load due to its shortened position, the soleus still contributes to the movement as it helps lift the heel further during the plantarflexion phase.
- Full Range of Motion:
- Straight-leg calf raises allow for a full range of motion, ensuring that both the gastrocnemius and soleus are engaged throughout the exercise. As you raise your heels, you fully activate both muscles, with the gastrocnemius taking more of the load at the beginning of the movement.
- Variation for Targeted Training:
- Straight-leg calf raises are an excellent variation for individuals looking to specifically target the gastrocnemius for greater definition and size. By maintaining the legs straight, you emphasize this muscle’s activation and promote growth.
Overall, straight-leg calf raises provide a way to prioritize the activation of the gastrocnemius while still engaging the soleus adequately. To maximize the benefits of this exercise, focus on controlled repetitions, a full range of motion, and progressive overload by increasing weight or resistance gradually.
Heavy Loads for Calf Raises
Heavy loads in calf exercises can lead to greater strength gains in the joint and tendon and promote more significant growth of the gastrocnemius muscle through several mechanisms:
- Tendon and Connective Tissue Adaptation:
- When you lift heavy loads, the tendons and connective tissues around the calf muscles, including the Achilles tendon, are subjected to greater stress. In response to this stress, these tissues adapt by becoming stronger and more resilient. This adaptation can help prevent injuries and improve overall joint health.
- Muscle Fiber Recruitment:
- Heavy loads require the recruitment of a higher number of muscle fibers, including fast-twitch muscle fibers. These muscle fibers have greater potential for growth compared to slow-twitch fibers.
- As you lift heavy weights, more muscle fibers in the gastrocnemius are activated to generate the force needed to lift the load. Over time, this can lead to muscle hypertrophy (growth).
- Greater Mechanical Tension:
- Heavy loads place greater mechanical tension on the muscle fibers. This tension is a key stimulus for muscle growth. It creates microscopic damage to the muscle fibers, which then repair and grow stronger and larger during the recovery process.
- The gastrocnemius, being a powerful calf muscle responsible for plantarflexion, responds well to heavy loads due to its role in generating force during activities like running and jumping.
- Progressive Overload:
- To stimulate muscle and tendon adaptation, it’s essential to progressively increase the load over time. This gradual increase in weight challenges the calf muscles, tendons, and joint structures, forcing them to adapt and grow stronger.
- Hormonal Response:
- Lifting heavy weights can trigger the release of anabolic hormones like testosterone and growth hormone. These hormones play a vital role in muscle growth and repair.
To achieve these benefits while minimizing the risk of injury, it’s crucial to use proper form and technique when lifting heavy loads. Additionally, a well-balanced training program that includes varying rep ranges, exercise variations, and adequate recovery periods is essential for overall calf muscle development and joint health. Always consult with a fitness professional or trainer to ensure you’re incorporating heavy loads safely and effectively into your calf training routine.
Single Leg Dumbbell Calf Raises
Performing a single-leg dumbbell calf raise with a heavy load is an effective way to target the calf muscles individually and build strength and size. Here’s a step-by-step guide on how to do it:
Equipment Needed:
- Dumbbell(s) of appropriate weight
Step-by-Step Instructions:
- Preparation:
- Stand near a sturdy platform or elevated surface (e.g., a step or box) that allows you to perform the exercise comfortably.
- Dumbbell Placement:
- Hold a dumbbell in one hand (or both hands for added resistance) and let it hang by your side.
- Single-Leg Stance:
- Stand on one leg with your other foot slightly raised behind you, either resting on your calf or with your toes lightly touching the ground for balance. This is your starting position.
- Engage Your Core:
- Engage your core muscles to maintain a stable and upright posture throughout the exercise.
- Heel Raise:
- Slowly raise your heel as high as possible by pushing through the ball of your foot.
- Focus on contracting your calf muscle (gastrocnemius) throughout the movement.
- Peak Contraction:
- Hold the peak contraction for a brief moment to maximize muscle engagement and tension in the calf.
- Lowering Phase:
- Slowly lower your heel back down to the starting position, allowing your calf to stretch.
- Repetition:
- Complete the desired number of repetitions on one leg before switching to the other.
- Form Tips:
- Keep your movements controlled and deliberate throughout the exercise to ensure proper muscle engagement and reduce the risk of injury.
- Maintain a neutral spine and avoid leaning excessively forward or backward during the movement.
- Focus on pushing through the ball of your foot and maintaining a strong mind-muscle connection with your calf.
- Progressive Overload:
- Gradually increase the weight of the dumbbell as you become stronger to continuously challenge and stimulate muscle growth.
Performing single-leg dumbbell calf raises with a heavy load helps isolate and strengthen each calf individually, promoting muscle balance and growth. Always prioritize proper form and alignment to maximize the effectiveness of the exercise.
If you enjoyed these tips, please save this pin to your Pinterest Board.
Home › Aesthetic Body Plan ›Dumbbell Leg Exercises