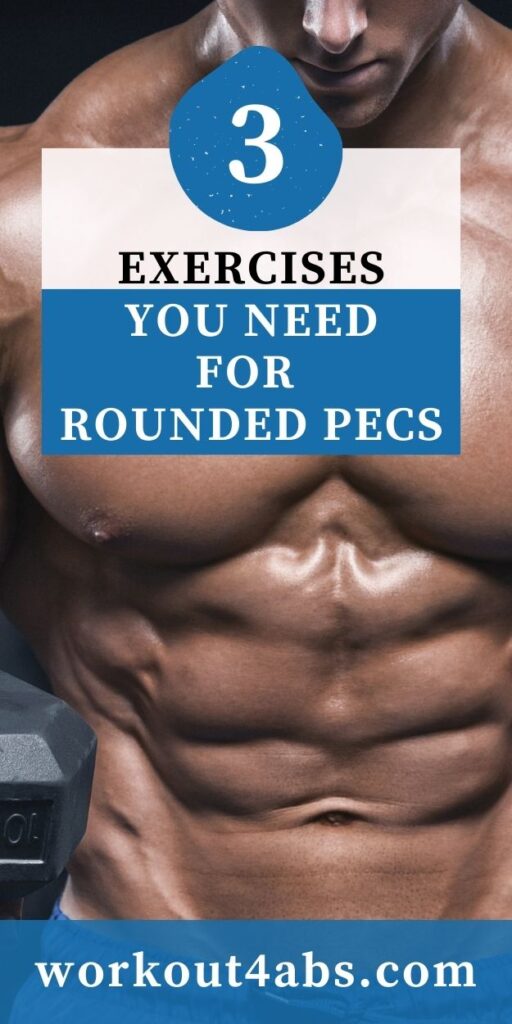
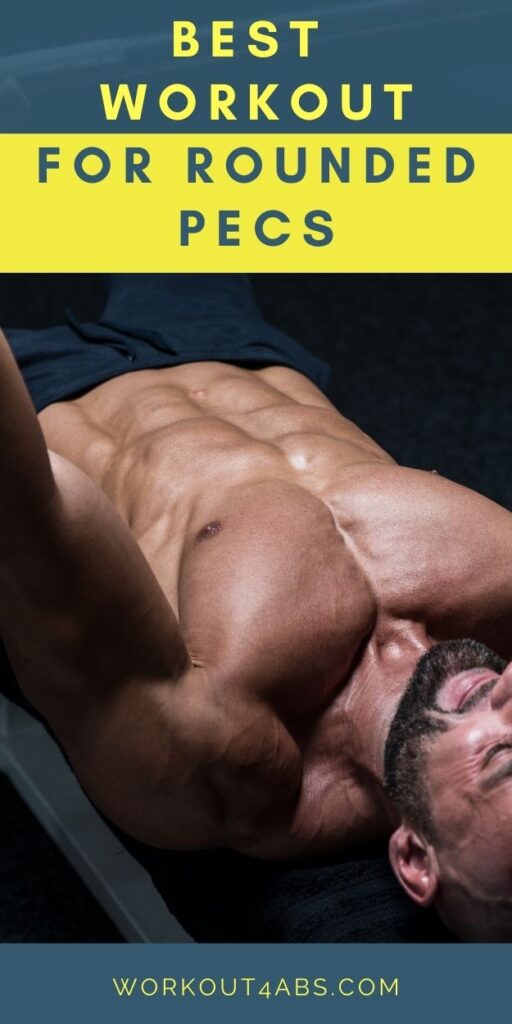
Unlock a sculpted chest with these three essential lower chest exercises. Discover the power of the classic flat bench press, the intensity of dips, and the precision of high to low cable crossovers. Build well-rounded pecs and redefine your upper body strength with this targeted routine.
If you enjoyed these tips and would like to keep it close to you at any time, please save this pin to your Pinterest Board.
#1 Flat Barbell Bench Press
Flat Bench Barbell Chest Exercise:
1. Preparation:
- Set up a flat bench in a sturdy and safe location.
- Place the barbell on the bench press rack at a height that allows you to easily unrack and rack the barbell.
2. Warm-up:
- Always start with a proper warm-up to prevent injuries. You can perform some light cardio and dynamic stretches to get your muscles warmed up.
3. Loading the Barbell:
- Choose an appropriate weight for your fitness level and goals.
- Load the weight plates onto the barbell evenly on both sides. Ensure that the barbell is balanced.
4. Positioning:
- Lie flat on the bench with your head, upper back, and buttocks in contact with the bench. Your feet should be flat on the floor.
- Your eyes should be directly under the barbell.
5. Gripping the Barbell:
- Reach up and grasp the barbell slightly wider than shoulder-width apart. Use an overhand grip (palms facing away from you).
6. Unracking the Barbell:
- Lift the barbell off the rack using controlled movements. Ensure that the barbell is directly above your chest with your arms fully extended.
7. Lowering the Barbell:
- Inhale and start lowering the barbell slowly towards your mid-chest. Keep your elbows at about a 45-degree angle to your body.
8. Barbell Placement:
- Touch the barbell to your chest lightly or allow it to come as close as your flexibility and comfort allow. Do not bounce the bar off your chest.
9. Pressing the Barbell:
- Exhale and press the barbell upward by extending your elbows. Push the barbell back to the starting position.
10. Repetitions:
- Perform the desired number of repetitions for your set. Aim for a controlled and smooth movement throughout the exercise.
11. Racking the Barbell:
- Once you’ve completed your set, carefully guide the barbell back to the rack. Ensure it’s properly secured on the rack.
12. Cool Down:
- After completing your sets, perform some static stretches to help relax and lengthen the chest and shoulder muscles.
Tips:
- Maintain a neutral spine throughout the exercise by keeping your back in contact with the bench.
- Engage your core muscles to provide stability during the exercise.
- Use a spotter if you’re lifting heavy weights to ensure safety.
- Focus on proper form and control rather than lifting heavier weights.
Remember that proper form is crucial to prevent injuries and maximize the effectiveness of the exercise. If you’re new to weightlifting, consider working with a fitness professional to ensure you’re performing the exercise correctly.
If you enjoyed these tips and would like to keep it close to you at any time, please save this pin to your Pinterest Board.
Decline Bench Press at -15 degree angle
Decline Bench Barbell Chest Exercise:
1. Set Up:
- Adjust the bench to a decline angle of approximately -15 degrees. Many gym benches have adjustable angles; set it to the desired decline angle.
- Place the barbell on the bench press rack at a height that allows you to easily unrack and rack the barbell.
2. Warm-up:
- As with any workout, start with a proper warm-up to prepare your muscles and joints for the exercise.
3. Loading the Barbell:
- Choose the appropriate weight and load the barbell as you would for a flat bench press.
4. Positioning:
- Lie down on the decline bench with your head positioned lower than your hips. Your feet should be secured under the provided foot rollers or securely planted on the floor.
- Make sure your head, upper back, and buttocks are in firm contact with the bench.
5. Gripping the Barbell:
- Reach up and grasp the barbell slightly wider than shoulder-width apart with an overhand grip (palms facing away from you).
6. Unracking the Barbell:
- Lift the barbell off the rack using controlled movements. Ensure the barbell is directly above your lower chest and upper abdomen, with your arms fully extended.
7. Lowering the Barbell:
- Inhale and slowly lower the barbell towards your lower chest. Keep your elbows at around a 45-degree angle to your body.
8. Barbell Placement:
- Touch the barbell to your lower chest or upper abdomen, or allow it to come as close as your comfort and flexibility allow. Avoid bouncing the bar off your body.
9. Pressing the Barbell:
- Exhale and press the barbell back up to the starting position by extending your elbows.
10. Repetitions:
- Complete the desired number of repetitions for your set. Focus on maintaining proper form and control throughout.
11. Racking the Barbell:
- Once you’ve completed your set, carefully rack the barbell back onto the rack.
12. Cool Down:
- After finishing your sets, perform some gentle stretches to relax your chest and shoulder muscles.
Tips:
- Keep your core engaged and maintain a stable body position throughout the exercise.
- Use a spotter, especially when lifting heavier weights, to ensure safety.
- Gradually increase the weight as you become more comfortable with the exercise and maintain proper form.
Remember that proper technique is essential to prevent injuries and achieve the best results. If you’re new to decline bench presses, consider seeking guidance from a fitness professional to ensure you’re performing the exercise correctly.
If you enjoyed these tips and would like to keep it close to you at any time, please save this pin to your Pinterest Board.
#2 Dips
Dips are a versatile bodyweight exercise that primarily target the triceps but also engage the chest (pecs) and shoulders. To perform dips that target the pecs from a unique angle, you can modify the exercise by using parallel bars and leaning forward slightly. Here’s how to do it step by step:
Parallel Bar Dips Targeting Pecs from a Unique Angle:
1. Set Up:
- Find a set of parallel bars or dip bars at your gym or use a dip station.
- Adjust the width of the bars to a comfortable distance, typically slightly wider than shoulder-width apart.
- Ensure that the bars are stable and can support your body weight.
2. Warm-up:
- Warm up your upper body muscles with some light dynamic stretches or mobility exercises.
3. Starting Position:
- Stand between the parallel bars, facing forward.
- Place one hand on each bar with your palms facing inward (towards your body) and your fingers gripping the bars.
- Straighten your arms and lift yourself up off the ground. Your feet should be off the floor, and your arms should be fully extended.
4. Leaning Forward:
- Gently lean your upper body forward by bending at your waist. This forward lean will shift the emphasis onto your chest muscles.
5. Lowering Phase:
- Inhale and slowly lower your body by bending your elbows. Keep your body slightly leaned forward throughout this movement. Your chest should move forward and downward.
6. Depth and Range of Motion:
- Lower yourself until your shoulders are at about the same level as your elbows or slightly lower. This will provide a deeper stretch and more activation of the chest muscles.
7. Pushing Phase:
- Exhale and press through your palms to push your body back up to the starting position. Focus on using your chest muscles to initiate the movement.
8. Repetitions:
- Perform the desired number of repetitions for your set, maintaining control and proper form.
9. Cool Down:
- After completing your sets, gently stretch your chest and triceps to relax the muscles.
Tips:
- Keep your core engaged and maintain a straight line from your head to your heels throughout the exercise.
- Avoid excessive swinging or using momentum to lift yourself. Focus on controlled movement.
- If you’re new to dips, start with assisted dips using a resistance band or a dip machine to build strength before progressing to bodyweight dips.
- Gradually increase the number of repetitions and sets as you become more comfortable with the exercise.
Remember that proper form is crucial to prevent strain or injury. Leaning forward slightly during the exercise places more emphasis on the chest muscles and provides a unique angle to target them effectively. If you’re unsure about your technique, consider seeking guidance from a fitness professional.
#3 High to Low Cable Cross-overs
These are great because they remove the triceps involvement by further isolating the pecs.
High to Low Cable Crossovers are a great exercise for targeting the chest (pecs) while minimizing triceps involvement. This exercise involves using a cable machine to perform a cross-over motion that emphasizes the chest muscles.
Here’s how to perform High to Low Cable Crossovers and why they are effective for isolating the pecs:
High to Low Cable Crossovers:
1. Set Up:
- Adjust the pulleys on a cable machine to the highest setting.
- Attach single handle attachments to each pulley.
- Stand in the middle of the cable machine, facing away from the pulleys.
2. Cable Positioning:
- Hold one handle in each hand, palms facing down (pronated grip).
- Your arms should be slightly bent at the elbows and extended diagonally upwards, forming a “Y” shape.
3. Starting Position:
- Take a step or two forward to create tension on the cables while keeping your arms extended diagonally upwards.
4. Crossing Motion:
- Inhale and engage your chest muscles. Keep a slight bend in your elbows and maintain this elbow position throughout the movement.
- Exhale and, in a controlled manner, bring your hands down and together in front of your body. Imagine you’re hugging a large tree.
- Focus on squeezing your chest muscles as you bring your hands together.
5. Peak Contraction:
- At the bottom of the movement, when your hands are together in front of your torso, contract your chest muscles as hard as possible for a brief moment.
6. Return to Starting Position:
- Inhale again and reverse the motion, gradually returning your arms back to the starting “Y” position. Maintain control and tension in your chest muscles throughout this phase.
7. Repetitions:
- Perform the desired number of repetitions, aiming for a full range of motion while keeping tension on the chest muscles.
8. Cool Down:
- After completing your sets, gently stretch your chest and shoulders to help relax the muscles.
Why High to Low Cable Crossovers Are Effective for Isolating the Pecs:
- Minimized Triceps Involvement: The high to low angle of this exercise places the emphasis on the lower portion of the chest. Because the triceps are less involved in this motion, the chest muscles are further isolated.
- Constant Tension: Cable machines provide constant tension on the muscles throughout the entire range of motion. This means that the chest muscles are engaged both during the contraction and the return phase, which enhances muscle activation and growth.
- Controlled Movements: Using a cable machine encourages controlled movements, reducing the risk of using momentum to lift the weight. This allows for better muscle engagement and targeting.
- Range of Motion: The cross-over motion allows for a deep stretch and a full contraction of the chest muscles, which can lead to better muscle development.
Remember to start with a weight that you can handle comfortably and focus on maintaining proper form. If you’re new to this exercise, consider seeking guidance from a fitness professional to ensure you’re performing it correctly and safely.
Lower Chest Exercises Related Pages
Chest Workout for Mass
Bodybuilding chest workout for chest day. Pack on muscle and strength. with key exercises for achieving a massive, powerful chest.
Chest Fat Workout
Discover a man boobs workout with three powerful strength training exercises that can assist in reducing chest fat while building a more defined and toned upper body.
Home ›Lower Chest Exercises