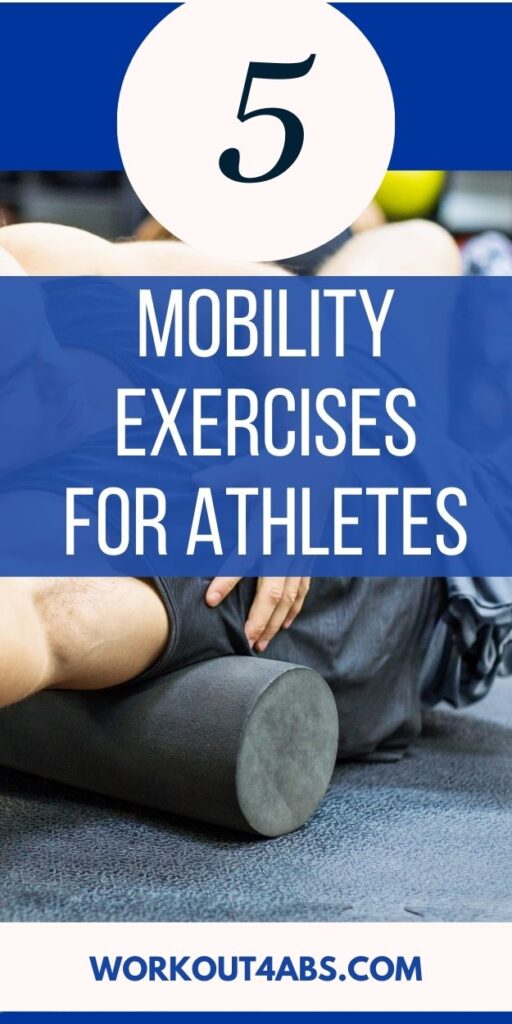
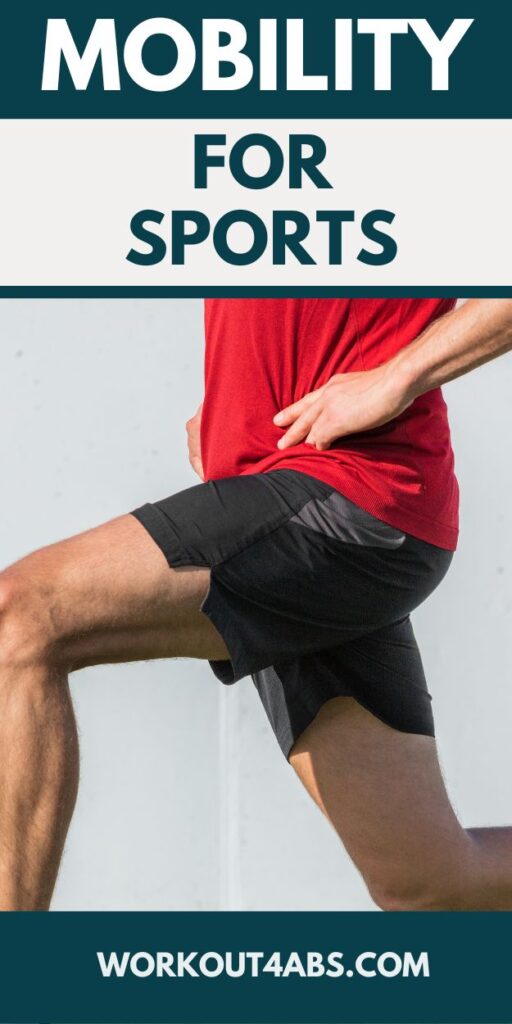
Explore these 5 mobility for athletes exercises to help you excel in sports. Athletes understand the critical role mobility plays in performance. In this article, we unveil five game-changing mobility exercises designed to enhance flexibility, strength, and range of motion, helping you excel in your sport and reduce the risk of injuries.
5 Mobility Exercises EVERY Athlete Should Do!
Lengthening is Strengthening
The “lengthening is strengthening” concept is a fundamental principle in sports mobility and flexibility training. It suggests that to improve mobility effectively, you must work on both lengthening and strengthening the muscles. This approach recognizes that muscle flexibility and strength are interconnected and can be optimized through specific training techniques. Here’s how it works:
- Muscle Lengthening:
- This aspect of the concept involves stretching and mobility exercises designed to increase the length of muscles and improve joint range of motion.
- Stretching techniques, such as static stretching, dynamic stretching, and PNF (proprioceptive neuromuscular facilitation) stretching, are used to target specific muscle groups and gradually increase their flexibility.
- By lengthening the muscles, you reduce the resistance to movement and increase the range of motion in the joints, which is crucial for sports performance.
- Muscle Strengthening:
- In parallel with muscle lengthening, you must also strengthen the muscles to support and stabilize the joints at their increased range of motion.
- Strength training exercises, such as resistance training, bodyweight exercises, and functional training, are incorporated into the training program.
- These exercises not only enhance muscle strength but also reinforce the newfound range of motion, making it more functional and less prone to injury.
- Balance and Control:
- The combination of lengthening and strengthening exercises helps improve overall balance and control of the body.
- Enhanced muscle flexibility allows for smoother and more controlled movements, while improved muscle strength ensures stability and support throughout those movements.
- This balance and control are particularly important in sports that require dynamic, rapid movements and quick changes in direction.
- Injury Prevention and Performance Enhancement:
- By focusing on both lengthening and strengthening, athletes can reduce the risk of injury. Flexible muscles are less likely to strain or tear, while strong muscles provide support and protection to the joints.
- Moreover, this approach can lead to improved sports performance. Athletes with a greater range of motion and better muscle control can move more efficiently, jump higher, run faster, and execute sport-specific skills with greater precision.
- Consistency and Progression:
- The key to success with the “lengthening is strengthening” concept is consistency and gradual progression. Athletes should incorporate stretching and strengthening exercises into their regular training routines.
- As flexibility and strength improve, the training program can be adjusted to challenge the body further and continue enhancing mobility.
In summary, the “lengthening is strengthening” concept acknowledges the interplay between flexibility and strength in achieving optimal mobility for sports. It emphasizes the importance of balancing both aspects in a training regimen to enhance performance, prevent injuries, and maintain overall physical well-being.
If you enjoyed these tips, please save this pin to your Pinterest Board.
Mobility is a Combination of Stability and Passive Flexibility
Mobility in the context of human movement is indeed a combination of stability and passive flexibility. It refers to the ability to move a joint or a series of joints through a specific range of motion with control, strength, and without pain. Here’s how mobility is influenced by both stability and passive flexibility:
- Passive Flexibility:
- Passive flexibility refers to the inherent range of motion a joint has without the influence of muscle contraction or external force. It’s often what we think of as our “natural” flexibility.
- Passive flexibility depends on factors like joint structure, ligament and tendon elasticity, and the length of muscles surrounding the joint.
- Achieving greater passive flexibility typically involves stretching exercises, such as static stretching or yoga, to increase the range of motion at the joint.
- Stability:
- Stability refers to the body’s ability to maintain control and support a joint through a specific range of motion.
- Stability is provided by the muscles, tendons, and ligaments surrounding a joint. These structures help keep the joint in its proper alignment and prevent excessive or undesired movement.
- Muscular stability is crucial for protecting joints and ensuring safe and controlled movement, especially during activities that involve rapid changes in direction or high levels of force.
- The Balance Between Both:
- Effective mobility is not just about having passive flexibility. It’s also about having the strength and control to use that flexibility safely and efficiently.
- If passive flexibility is increased without the corresponding muscular stability, it can lead to instability and an increased risk of injury. Conversely, excessive stability without adequate flexibility can restrict range of motion and limit movement potential.
- The balance between passive flexibility and stability is crucial for optimal mobility. It ensures that the joint can move through its full range of motion with control, allowing for functional and efficient movement.
- Functional Mobility:
- Functional mobility is the ability to apply this balance of flexibility and stability to real-life movements and activities.
- It’s not just about achieving impressive stretches or joint ranges in isolation but about using that mobility in a way that enhances performance in sports, daily activities, and other functional tasks.
In conclusion, mobility is the result of finding the right equilibrium between passive flexibility and muscular stability. Developing both components through targeted exercises and training techniques is essential for improving overall mobility, preventing injuries, and enhancing physical performance in various activities. A well-rounded mobility training program should address both aspects to achieve the best results.
If you enjoyed these tips, please save this pin to your Pinterest Board.
Scorpion Pec Stretch
The Scorpion Pec Strength Mobility Exercise is a dynamic stretching and mobility exercise that targets the chest (pectoral) muscles, shoulders, and spine. It’s particularly useful for improving upper body mobility and flexibility. Here’s how to perform the Scorpion Pec Strength Mobility Exercise:
Equipment Needed:
- An exercise mat or a comfortable, padded surface.
Step-by-Step Instructions:
- Starting Position:
- Begin by lying face-down on the exercise mat with your arms extended outward to the sides, forming a “T” shape with your body.
- Keep your legs extended and together.
- Leg Movement:
- Lift your right leg off the ground, keeping it straight.
- As you raise your leg, simultaneously rotate your hips and lower body to the left, attempting to touch your right foot to the ground on the left side.
- Your body will twist, and your right leg will create an arched or scorpion-like shape as it moves across your body.
- Stretch and Hold:
- As your right leg moves across, try to feel a stretch in your chest and shoulder area on the right side.
- Hold the stretched position for a moment, feeling a gentle stretch but not pushing into pain.
- Return to Starting Position:
- Slowly reverse the movement by lifting your right leg and returning it to the starting position.
- Your hips and lower body should also rotate back to the neutral face-down position.
- Repeat on the Other Side:
- Perform the same scorpion movement with your left leg, rotating your hips and lower body to the right, and attempting to touch your left foot to the ground on the right side.
- Hold the stretched position briefly.
- Complete the Repetitions:
- Continue to alternate between right and left leg movements for the desired number of repetitions or for a specific duration.
Tips:
- Perform this exercise in a controlled and deliberate manner, emphasizing the stretch in the chest and shoulders.
- Keep your arms fully extended and relaxed throughout the movement.
- Don’t force the stretch; go only as far as your flexibility allows without discomfort.
- Engage your core muscles to stabilize your lower back and pelvis during the exercise.
- Focus on deep, controlled breathing to enhance relaxation and flexibility.
The Scorpion Pec Strength Mobility Exercise can help improve the flexibility and mobility of your chest and shoulders while also providing a gentle stretch for your spine. It’s a valuable addition to a warm-up or cooldown routine, particularly for individuals looking to enhance upper body mobility or address tightness in the chest and shoulders.
Hip 90 90 Stretch
The hip 90/90 stretch is a dynamic mobility exercise that helps improve hip mobility and flexibility. It’s particularly beneficial for those who want to work on hip mobility for activities like sports, yoga, or daily movement. Here’s how to perform the hip 90/90 stretch:
Equipment Needed:
- A flat and comfortable surface, such as a yoga mat or soft ground.
Step-by-Step Instructions:
- Starting Position:
- Begin by sitting on the floor with your legs extended straight in front of you.
- Place your hands behind you for support.
- The First 90-Degree Bend:
- Bend your right knee, bringing it toward your chest.
- Rotate your right hip externally, so your knee points outward and your foot moves across your body.
- Your right shin should form a 90-degree angle with your thigh, with your right knee pointing toward the right side.
- The Second 90-Degree Bend:
- Now, bend your left knee, bringing it toward your chest.
- Rotate your left hip externally, so your knee points outward and your foot moves away from your body.
- Your left shin should form a 90-degree angle with your thigh, with your left knee pointing toward the left side.
- Adjustment:
- Your body should now be in a square shape with both knees forming 90-degree angles.
- Your right thigh and left shin should be parallel to each other, and your left thigh and right shin should be parallel as well.
- Hip Stretch:
- From this 90/90 position, you can begin to work on your hip mobility:
- Lean forward slightly, keeping your spine straight, and gently press your chest toward your right knee.
- You should feel a stretch in your right hip and groin area.
- Hold this position for 15-30 seconds while taking slow, deep breaths.
- From this 90/90 position, you can begin to work on your hip mobility:
- Transition to the Other Side:
- Release the stretch and return to the starting position with both legs extended.
- Repeat the entire process on the opposite side by bending and rotating your left knee, then your right knee, forming the 90/90 position on the left side.
- Lean forward to stretch the left hip and groin area, holding for 15-30 seconds.
- Repetitions:
- Alternate between the right and left sides for the desired number of repetitions.
- You can gradually increase the hold time as your flexibility improves.
Tips:
- Maintain good posture throughout the stretch, keeping your back straight and your chest up.
- Focus on relaxing into the stretch and avoid forcing the movement.
- If you experience discomfort or pain, ease off the stretch and make adjustments as needed.
- Incorporate the hip 90/90 stretch into your warm-up or cool-down routine to enhance hip mobility over time.
The hip 90/90 stretch is an effective way to work on hip mobility and flexibility, which can be beneficial for various physical activities and can help alleviate hip tightness and discomfort.
Elevated Eccentric Pigeon Stretch
The elevated eccentric pigeon stretch is an advanced variation of the classic pigeon stretch that targets the hip flexors, glutes, and external rotators of the hip. It involves a deeper stretch and focuses on eccentric muscle lengthening. Here’s how to perform the elevated eccentric pigeon stretch:
Equipment Needed:
- A bench, sturdy chair, or any elevated surface that allows you to rest your leg on while keeping your foot and knee supported.
Step-by-Step Instructions:
- Setup:
- Begin by sitting on the edge of a bench or chair with your feet flat on the ground.
- Position your hands on either side of your hips for support.
- Ensure that your back is straight and your core is engaged.
- Leg Placement:
- Lift your right leg and place the outside of your right ankle on top of your left knee, forming a “figure-four” shape with your legs.
- Flex your right foot to protect the knee and ankle.
- Eccentric Phase:
- Begin the eccentric phase by gently leaning forward at your hips while maintaining a straight back.
- As you lean forward, you’ll feel a deep stretch in your right hip and glutes.
- Continue to lower your chest closer to your right leg until you reach a point where you feel a strong but manageable stretch. This is the eccentric phase.
- Hold and Breathe:
- Hold the stretched position for 15-30 seconds, breathing deeply and trying to relax into the stretch.
- Return to Upright Position:
- Carefully lift your chest and return to an upright sitting position.
- Relax your right leg and place it back on the ground.
- Repetitions and Progression:
- Repeat the stretch for the desired number of repetitions, gradually working on increasing the hold time and depth of the stretch.
- Perform the same stretch on your left leg to maintain balance and flexibility.
- Cool Down:
- After completing the stretch on both sides, you can perform some gentle hip and glute stretches to cool down and release any residual tension.
Tips:
- Keep the movement slow and controlled, especially during the eccentric phase, to avoid overstretching or straining the muscles.
- Focus on your breathing to help relax into the stretch.
- If you experience pain or discomfort, ease out of the stretch and adjust the depth accordingly.
- Regularly incorporating this stretch into your routine can help improve hip flexibility and reduce tightness in the hip and gluteal muscles.
The elevated eccentric pigeon stretch is an effective way to target the hip and gluteal muscles while working on hip flexibility and mobility. As with any stretching exercise, it’s essential to perform it safely and within your comfort level to avoid injury.
PVC Pipe Walks
PVC pipe walks, also known as PVC pipe balance walks, are a balance and stability exercise that can help improve your core strength, balance, and coordination. They involve walking while balancing on a PVC pipe or a similar cylindrical object. Here’s how to do PVC pipe walks:
Equipment Needed:
- A PVC pipe or a similar cylindrical object. You can also use a wooden dowel or a broomstick as an alternative.
- A flat and clear surface to walk on, such as a gym floor or a carpeted area.
Step-by-Step Instructions:
- Setup:
- Place the PVC pipe or cylindrical object on the ground horizontally.
- Starting Position:
- Stand next to the PVC pipe with your feet hip-width apart.
- Keep your chest up, shoulders back, and your core engaged for stability.
- Step Onto the Pipe:
- Carefully lift your right foot and place it on top of the PVC pipe.
- Aim to balance on the pipe with the entire foot, from the heel to the toes.
- Keep your eyes focused on a point ahead to help with balance.
- Balance and Walk:
- Once you’re balanced on the PVC pipe with your right foot, lift your left foot and bring it to the front of the right foot, placing it on the PVC pipe.
- Balance on both feet on top of the pipe for a moment.
- Now, lift your right foot and bring it forward, placing it in front of your left foot on the PVC pipe.
- Continue this walking pattern, alternating your feet as you move forward along the length of the PVC pipe.
- Maintain Balance:
- Focus on maintaining your balance throughout the exercise.
- Engage your core muscles to help stabilize your body.
- Walk the Desired Distance:
- Continue walking along the PVC pipe until you reach your desired distance or until you’ve completed the recommended number of steps.
- Return to Starting Position:
- Once you’ve reached your goal or completed the exercise, carefully step off the PVC pipe and return to the starting position.
- Repetitions and Sets:
- Perform the PVC pipe walks for the desired number of repetitions or sets.
- As you become more proficient, you can increase the distance you walk or make the exercise more challenging by walking backward or walking on a narrower surface.
Tips:
- Start with a wider and more stable cylindrical object if you’re new to balance training, and then progress to a narrower pipe as your balance improves.
- Keep your movements slow and controlled, especially if you’re just starting.
- Use your arms for balance by keeping them out to your sides or holding them in front of you.
- If you lose balance or step off the pipe, simply reset and continue. Balance exercises may be challenging at first, but they improve with practice.
PVC pipe walks are an effective way to enhance balance, stability, and core strength. They can be incorporated into your warm-up, cool-down, or regular workout routine to improve overall physical coordination and stability.
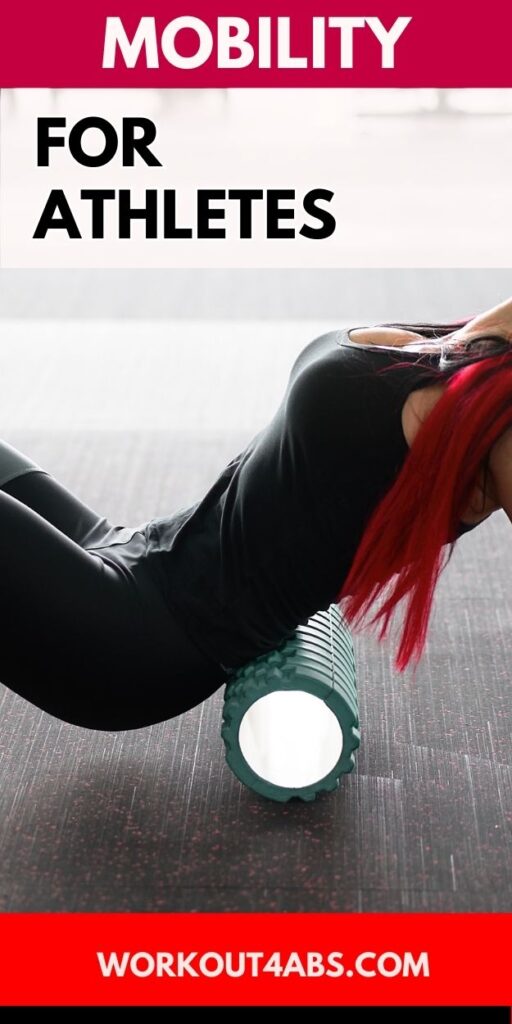
Thoracic Extension Over Wheel
A thoracic extension over a wheel or foam roller is an exercise that helps improve mobility and flexibility in the upper and middle back (thoracic spine). It’s particularly beneficial for individuals who spend long hours sitting or hunched over a computer, as it helps counteract poor posture. Here’s how to perform a thoracic extension over a wheel or foam roller:
Equipment Needed:
- A foam roller or a yoga wheel.
Step-by-Step Instructions:
- Setup:
- Place the foam roller or yoga wheel horizontally on the floor.
- Sit down in front of the foam roller with your knees bent and your feet flat on the ground.
- Position the foam roller or wheel at the level of your upper back, just below the shoulder blades.
- Starting Position:
- Sit up straight with good posture.
- Place your hands behind your head, interlocking your fingers and supporting your head gently without pulling or tugging.
- Engage Your Core:
- Engage your core muscles to stabilize your spine.
- Begin the Extension:
- Slowly lean back over the foam roller or wheel, allowing your upper back to gently arch over it.
- As you lean back, focus on keeping your lower back (lumbar spine) in a neutral position, which means it shouldn’t arch excessively or flatten.
- Open Up Your Chest:
- Continue to lean back, allowing your chest to open up and your shoulder blades to separate.
- You should feel a comfortable stretch in your upper back as you extend over the foam roller or wheel.
- Hold the Stretch:
- Once you’ve reached a comfortable position where you feel a stretch but not pain, hold the stretch for 15-30 seconds.
- Take slow, deep breaths to relax into the stretch.
- Return to the Starting Position:
- Gently and slowly roll forward to return to the starting position.
- Repetitions and Sets:
- Perform the thoracic extension over the foam roller or wheel for the desired number of repetitions or sets.
- You can gradually increase the hold time or the number of repetitions as your flexibility improves.
Tips:
- Focus on maintaining good posture throughout the exercise, especially in your lower back and neck.
- Avoid forcing the stretch or arching your lower back excessively.
- Perform the exercise slowly and with control to prevent straining your back.
- If you experience discomfort or pain during the stretch, stop immediately and consult a healthcare professional.
The thoracic extension over a foam roller or yoga wheel is an excellent way to counteract the negative effects of prolonged sitting and poor posture, helping to improve upper back mobility and reduce stiffness. Regular practice of this exercise can contribute to better posture and reduced upper back tension.
If you enjoyed these tips, please save this pin to your Pinterest Board.
Home › Workout for Athletes ›Mobility for Athletes