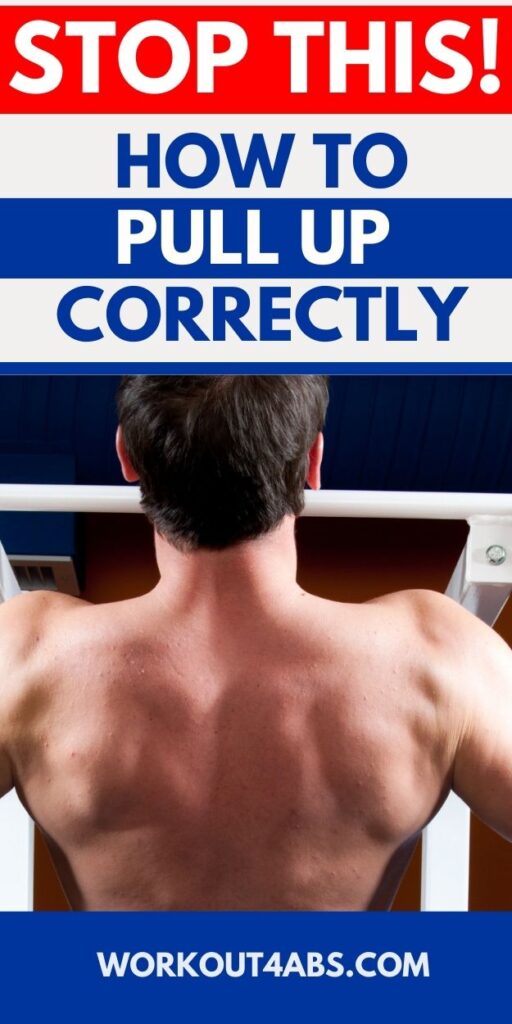
Learn how to do pull ups for beginners and also the more advanced pull up exercise for back muscle growth. Embarking on a journey to master pull-ups as a beginner can be an empowering experience. In this guide, we’ll walk you through the fundamentals of pull-ups, starting with assisted band pull-ups and progressing towards unassisted perfection. But we won’t stop there—discover techniques to activate your latissimus dorsi muscles effectively, unlocking the key to building a strong and muscular back. Whether you’re a novice or looking to refine your technique, this article will help you conquer the pull-up bar with confidence and achieve your fitness goals.
ABSOLUTE BEST PULL-UPS FOR GROWTH + How To Go From 0-20 Reps!
Close Grip Pull Up
Close grip pull-ups, also known as narrow grip pull-ups or chin-ups, are a challenging upper body exercise that primarily targets the biceps, upper back, and shoulders. They are similar to traditional pull-ups but involve a narrower hand placement on the pull-up bar. Here’s a step-by-step guide on how to perform close grip pull-ups:
Equipment You’ll Need:
- Pull-up bar or a sturdy horizontal bar.
Instructions:
- Find the Pull-Up Bar:
- Locate a stable and secure pull-up bar. Ensure it can support your body weight without any issues.
- Grip Placement:
- Stand facing the pull-up bar.
- Reach up and grab the bar with a close grip. Your hands should be positioned closer together than shoulder-width apart. A common grip width for close grip pull-ups is around shoulder-width or slightly narrower.
- Your palms should be facing you (supinated grip), which is different from traditional pull-ups where your palms face away (pronated grip).
- Hang from the Bar:
- Hang from the bar with your arms fully extended, and your body should be in a straight line from head to heels.
- Engage your core muscles to stabilize your body.
- Execution:
- Initiate the pull-up by flexing your elbows and pulling your chest towards the bar.
- Keep your elbows close to your body as you pull up.
- Focus on using your biceps and upper back muscles to lift your body.
- Continue pulling until your chin is above the bar or as high as you can comfortably go.
- Hold the Contraction:
- Once your chin is above the bar, pause for a moment and squeeze your back and biceps to maximize the contraction.
- Lowering Phase:
- Slowly lower your body back down to the starting position with your arms fully extended.
- Maintain control throughout the descent to work your muscles eccentrically.
- Repetitions:
- Aim for the desired number of repetitions. Start with a manageable number, such as 3-5 reps, and gradually increase as you build strength.
- Cooldown:
- After completing your set, release the bar and stand up straight.
- You can stretch your arms, shoulders, and upper back if needed.
Tips:
- Keep your body straight throughout the movement. Avoid swinging or using momentum to lift yourself up.
- Breathe naturally throughout the exercise. Exhale as you pull your body up and inhale as you lower yourself down.
- If you find close grip pull-ups too challenging initially, you can start with assisted variations or use a resistance band to assist you in lifting your body.
- It’s essential to maintain proper form to prevent injury. If you’re new to pull-ups, consider working with a fitness professional to ensure you’re using correct technique.
Close grip pull-ups are an excellent way to target your biceps and upper back while also engaging your core muscles. Incorporate them into your strength training routine to build upper body strength and muscle definition.
If you enjoyed these tips, please save this pin to your Pinterest Board.

Resistance Band Assisted Pull Ups
Resistance band-assisted pull-ups are an excellent variation of the traditional pull-up exercise, especially for individuals who are working on building their upper body strength or are not yet able to perform unassisted pull-ups. These bands provide assistance by reducing the amount of body weight you have to lift, making the exercise more manageable. Here’s a step-by-step guide on how to do resistance band-assisted pull-ups:
Equipment You’ll Need:
- Pull-up bar or a sturdy horizontal bar.
- Resistance band(s) suitable for your fitness level. Thicker bands provide more assistance, while thinner bands offer less assistance.
Instructions:
- Set Up:
- Choose a suitable resistance band based on your strength and experience level. Thicker bands provide more assistance, so beginners may want to start with one of these.
- Attach one end of the resistance band to the pull-up bar, ensuring it’s securely fastened.
- Stand on a stool or platform so that you can easily reach the pull-up bar while holding the free end of the resistance band with your hands.
- Grip the Bar:
- Reach up and grab the pull-up bar with your hands, using a grip that’s comfortable for you. The standard grip is palms facing away (pronated grip), but you can also use a palms facing you (supinated grip) or a neutral grip (palms facing each other) depending on your preference.
- Set Your Body Position:
- Hang from the bar with your arms fully extended and your feet off the stool or platform. Your body should be in a straight line from head to heels.
- Make sure the resistance band is securely attached to the bar and that it’s positioned so that it provides assistance as you pull up.
- Perform the Pull-Up:
- Initiate the pull-up by bending your elbows and pulling your chest toward the bar.
- Use the assistance from the resistance band to help you lift your body. The band should stretch as you pull up.
- Focus on using your back and arm muscles to perform the movement, and avoid excessive swinging or using momentum.
- Chin Above the Bar:
- Continue pulling until your chin is above the bar or as high as you can comfortably go.
- Squeeze your back and arm muscles at the top of the movement to maximize the contraction.
- Lowering Phase:
- Slowly lower your body back down to the starting position with your arms fully extended.
- Maintain control throughout the descent.
- Repetitions:
- Aim for the desired number of repetitions. Start with a manageable number and gradually increase as you build strength.
- Cooldown:
- After completing your set, release the bar and stand up straight.
- Stretch your arms, shoulders, and upper back if needed to alleviate any tension.
Tips:
- Choose the appropriate resistance band to match your strength level. As you progress, you can use lighter bands for less assistance.
- Maintain proper form throughout the exercise to maximize its effectiveness and reduce the risk of injury.
- Focus on controlled movements and avoid using momentum.
- Gradually reduce the level of assistance provided by the resistance band as you get stronger, eventually working toward unassisted pull-ups.
Resistance band-assisted pull-ups are an excellent way to develop the strength needed to perform unassisted pull-ups. Incorporate them into your workout routine, gradually reducing the assistance, until you can perform pull-ups without any assistance.
If you enjoyed these tips, please save this pin to your Pinterest Board.
Wide Grip Pull Up
In a wide grip pull-up, your hands are positioned on the pull-up bar significantly wider than shoulder-width apart. This exercise primarily targets the upper back, particularly the lats (latissimus dorsi), as well as the biceps and shoulders.
Here’s how to perform wide grip pull-ups:
Equipment You’ll Need:
- Pull-up bar or a sturdy horizontal bar.
Instructions:
- Set Up:
- Locate a stable and secure pull-up bar.
- Grip Placement:
- Stand facing the pull-up bar.
- Reach up and grab the bar with an overhand (pronated) grip, positioning your hands wider than shoulder-width apart. The exact width can vary depending on your preference and comfort, but it’s generally wider than a standard shoulder-width grip.
- Hang from the Bar:
- Hang from the bar with your arms fully extended, and your body should be in a straight line from head to heels.
- Engage your core muscles to stabilize your body.
- Execution:
- Initiate the pull-up by flexing your elbows and pulling your chest towards the bar.
- Keep your elbows pointed out to the sides as you pull up.
- Focus on using your lats, upper back, and biceps to lift your body.
- Continue pulling until your chin is above the bar or as high as you can comfortably go.
- Hold the Contraction:
- Once your chin is above the bar, pause for a moment and squeeze your back and biceps to maximize the contraction.
- Lowering Phase:
- Slowly lower your body back down to the starting position with your arms fully extended.
- Maintain control throughout the descent to work your muscles eccentrically.
- Repetitions:
- Aim for the desired number of repetitions. Start with a manageable number, such as 3-5 reps, and gradually increase as you build strength.
- Cooldown:
- After completing your set, release the bar and stand up straight.
- You can stretch your arms, shoulders, and upper back if needed.
Wide grip pull-ups provide a different stimulus to your upper back muscles compared to standard grip pull-ups. They can help develop a wider V-shaped back and are a valuable addition to your upper body strength training routine. Remember to maintain proper form throughout the exercise to maximize its effectiveness and reduce the risk of injury.
How to Progress from Assisted Pull Ups to Regular Pull Ups
Training Program to Progress from Band-Assisted to Regular Pull-Ups:
Here’s a sample training program to help you progress from using band-assisted pull-ups to performing regular pull-ups:
Weeks 1-2: Building Strength
- Perform 3 sets of 8-10 repetitions of band-assisted pull-ups in each workout.
- Use a thick resistance band that provides moderate assistance.
- Rest for 1-2 minutes between sets.
Weeks 3-4: Increasing Intensity
- Perform 3 sets of 8-10 repetitions of band-assisted pull-ups in each workout.
- Gradually switch to a thinner resistance band that provides less assistance.
- Rest for 1-2 minutes between sets.
Weeks 5-6: Reduced Assistance
- Perform 3 sets of 6-8 repetitions of band-assisted pull-ups in each workout.
- Continue using a thinner resistance band, or reduce the assistance by using a combination of bands.
- Rest for 1-2 minutes between sets.
Weeks 7-8: Transitioning to Regular Pull-Ups
- Perform 3 sets of 5-6 repetitions of band-assisted pull-ups in each workout.
- Use the thinnest resistance band possible for a slight assist or no assistance if you’re close to performing unassisted pull-ups.
- Rest for 1-2 minutes between sets.
Weeks 9-10: Regular Pull-Up Training
- Attempt unassisted pull-ups in each workout.
- Start with as many reps as you can (even if it’s just 1 or 2) and gradually increase your reps over time.
- Continue to include band-assisted pull-ups in your routine as needed.
Tips:
- Consistency is key. Stick to your training schedule, and gradually reduce the assistance from the bands as you get stronger.
- Focus on proper form and control throughout each repetition.
- Incorporate other upper body strengthening exercises, such as rows and lat pulldowns, to complement your pull-up training.
- It may take some time to progress from band-assisted to unassisted pull-ups, so be patient with yourself and celebrate your achievements along the way.
If you enjoyed these tips, please save this pin to your Pinterest Board.

Home › Workout for Athletes ›Pull Ups for Beginners