Using proper pull up form for achieving your first pull-up is a formidable fitness milestone, but it requires more than sheer determination. In this article, we unveil a systematic approach to building the essential back muscles for pull-up success. With targeted techniques and strategic progressions, you’ll soon conquer your first unassisted pull-up and unlock a world of strength.
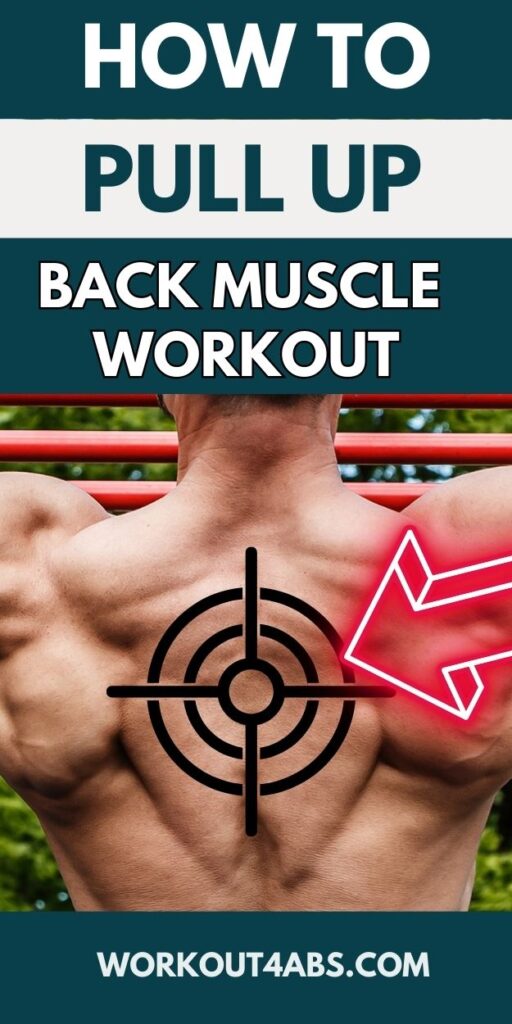
HOW TO GET YOUR FIRST PULL-UP
If you enjoyed these tips, please save this pin to your Pinterest Board.
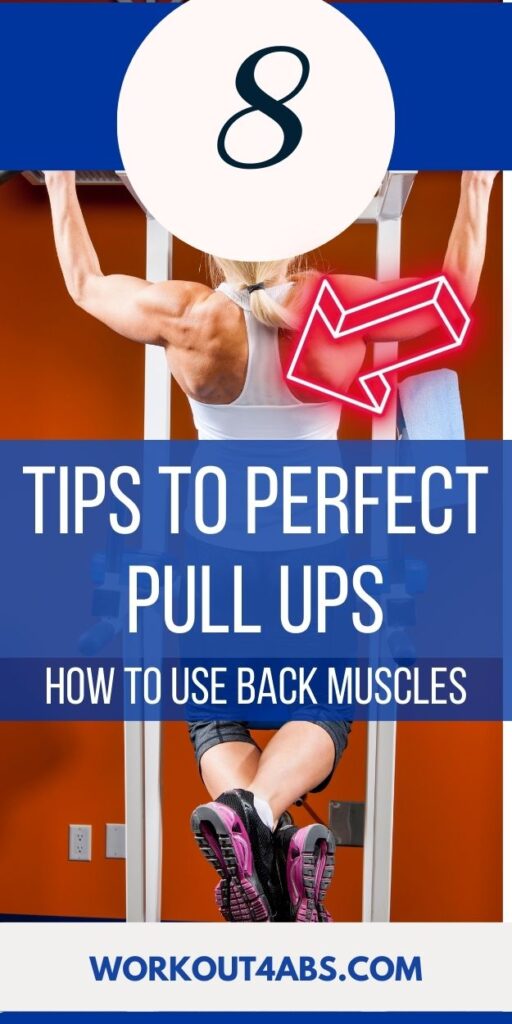
How to Use Your Back to Do Pull Ups
Performing a pull-up exercise effectively involves engaging various muscles, including those around the shoulder blades (scapulae). Here’s a step-by-step guide on how to use these muscles to assist you in performing a pull-up:
- Proper Grip and Hand Placement:
- Start by selecting an appropriate grip. The two most common grips are the overhand (pronated) grip and the underhand (supinated) grip. Experiment to find which grip is most comfortable for you.
- Place your hands slightly wider than shoulder-width apart on the pull-up bar.
- Initiate Shoulder Blade Retraction:
- Before initiating the pull-up, engage your shoulder blades by retracting them. Imagine pulling your shoulder blades back and down toward your spine.
- This retraction helps activate the muscles around the shoulder blades, including the rhomboids and lower trapezius.
- Engage the Latissimus Dorsi:
- As you hang from the bar with your shoulders retracted, engage your latissimus dorsi muscles, which are the primary muscles used in the pull-up.
- Focus on pulling your elbows down and back, driving them towards your hips.
- Initiate the Pull-Up Movement:
- Begin the pull-up by driving your elbows down and back while maintaining the engaged shoulder blades.
- Keep your chest lifted and aim to bring your chin over the bar.
- Exhale as you pull yourself up.
- Controlled Descent:
- Slowly lower yourself back down, maintaining control throughout the descent.
- Don’t let your shoulders hunch up; keep them retracted and engaged to control the movement.
- Repeat and Maintain Form:
- Repeat the pull-up movement, focusing on engaging the shoulder blade muscles and the latissimus dorsi throughout the exercise.
- Aim for a full range of motion, going from a full hang to chin over the bar and back down.
- Progressive Overload:
- Gradually increase the number of repetitions and sets as you build strength and endurance.
- You can also increase the difficulty by using a weighted belt or vest for added resistance.
- Stretch and Recover:
- After completing your pull-up workout, stretch the shoulder and back muscles to help with recovery and flexibility.
Remember to maintain proper form and technique throughout the exercise to maximize the effectiveness and prevent injury. Consistency and gradual progression are key to improving your pull-up performance.
If you enjoyed these tips, please save this pin to your Pinterest Board.

Assisted Pull Ups Using Bands
Using a resistance band to assist with pull-ups is an excellent way to gradually build strength and work towards performing unassisted pull-ups. Here’s a step-by-step guide on how to use a resistance band for this purpose:
- Choose the Right Resistance Band:
- Select a resistance band that provides the appropriate level of assistance for your current strength level. Thicker bands provide more assistance.
- Set Up the Resistance Band:
- Attach one end of the resistance band securely to the top of a pull-up bar. Ensure it’s anchored safely and won’t slip during your exercise.
- Insert Your Foot or Knee:
- Step or kneel into the loop of the resistance band, depending on the type of assistance you need.
- If you’re using a loop band, place one foot in the loop. If you’re using a long band, kneel down and hold the band with your foot.
- Get into the Starting Position:
- Stand or kneel on the band while gripping the pull-up bar with your hands, slightly wider than shoulder-width apart.
- Hang with your arms fully extended, keeping your body straight and maintaining a neutral spine.
- Engage Your Core and Shoulder Blades:
- Retract your shoulder blades by pulling them down and back, engaging the muscles around your shoulder blades.
- Engage your core muscles to maintain a stable and straight body position.
- Initiate the Pull-Up:
- Begin the pull-up by pulling your chest towards the bar, focusing on driving your elbows down and back.
- Use the assistance from the band to help lift your body, making the movement more manageable.
- Complete the Repetition:
- Continue pulling until your chin is over the bar or as high as you can go.
- Hold the position for a moment, then slowly release and extend your arms to return to the starting position.
- Control the Descent:
- Lower yourself in a controlled manner, resisting the band’s assistance as you descend. Aim for a slow, controlled descent to work the muscles effectively.
- Repeat and Progress:
- Repeat the pull-up movement for the desired number of repetitions.
- As you gain strength, you can gradually use a lighter resistance band or attempt unassisted pull-ups.
- Stretch and Recover:
- After completing your pull-up workout, stretch the muscles worked to aid recovery and flexibility.
Using a resistance band allows you to gradually build strength, making pull-ups more achievable over time. Consistency and persistence in your training will help you progress towards performing unassisted pull-ups.
Negative Pull Ups to Increase Pull Up Strength
Jumping up to the pull-up bar and slowly lowering your body down, often referred to as “negative pull-ups,” is an effective exercise for increasing strength and building the necessary muscles to eventually perform a full pull-up. Here’s why it’s a great approach and how to do it:
Why Negative Pull-Ups Work:
- Eccentric Muscle Contractions: The lowering phase of a pull-up, where you control your descent, primarily involves eccentric muscle contractions. These contractions occur as your muscles lengthen under tension, which is an essential aspect of muscle growth and strength development.
- Focus on Weak Points: Negative pull-ups allow you to target and strengthen the specific muscles involved in the pull-up motion, especially the lats, biceps, and upper back. This targeted training helps you address your weaknesses more effectively.
- Safe Progression: Negative pull-ups are a safer starting point if you’re not yet able to perform a full pull-up. They reduce the risk of straining or injuring yourself while still providing a challenging workout.
How to Perform Negative Pull-Ups:
- Find a Suitable Pull-Up Bar:
- Locate a sturdy pull-up bar or apparatus that can support your weight.
- Use a Step or Platform:
- If you can’t reach the bar while standing, use a step, platform, or a chair to assist you in reaching the bar.
- Grip and Hang:
- Grab the pull-up bar with your preferred grip (overhand or underhand), slightly wider than shoulder-width apart.
- Jump or step up to get your chin above the bar. You should begin the exercise with your chin above the bar.
- Controlled Descent:
- Now, slowly lower your body down. This is the eccentric phase of the pull-up.
- Aim for a count of about 3-5 seconds to descend, which provides ample time under tension for muscle growth.
- Maintain Proper Form:
- Keep your body straight and engage your core throughout the descent.
- Focus on using your back and arm muscles to control the movement, avoiding any sudden drops.
- Full Extension:
- Lower yourself until your arms are fully extended, and you’re hanging at the bottom of the movement.
- Repeat for Multiple Repetitions:
- Perform multiple repetitions of negative pull-ups, aiming for 3-5 sets of 3-5 repetitions per session.
- Rest and Recovery:
- Give your muscles time to recover between sessions, typically 48 hours or more.
As you consistently incorporate negative pull-ups into your routine, you’ll build strength in the relevant muscles, making it progressively easier to perform a full pull-up. Once you feel strong and confident enough, you can start incorporating regular pull-up attempts into your workout routine, gradually reducing your reliance on negative pull-ups until you can perform unassisted pull-ups.
If you enjoyed these tips, please save this pin to your Pinterest Board.
Home › Workout for Athletes ›Proper Pull Up Form